An email wrapper allows you to create a branded look to all of your emails. Adding a logo, a phone number and links through to your site and social networking profiles can give the customer extra assurance of who you are as a company. Using the same wrapper on all emails creates a sense of consistency with your communications. Once you start using your email wrapper, your customers will begin to recognise your emails in their inbox, even if they don’t look at who it is from first. You can now set up your own standard email wrapper in your Bluepark admin console using the Email Wrapper feature. Adding the default email wrapperTo set up your email wrapper go to Settings > Settings > Website tab. Underneath the Additional Email Content (HTML) section, there is a field called Wrapper. This field, by default, will be blank. This means your emails have no wrapper assigned to them. 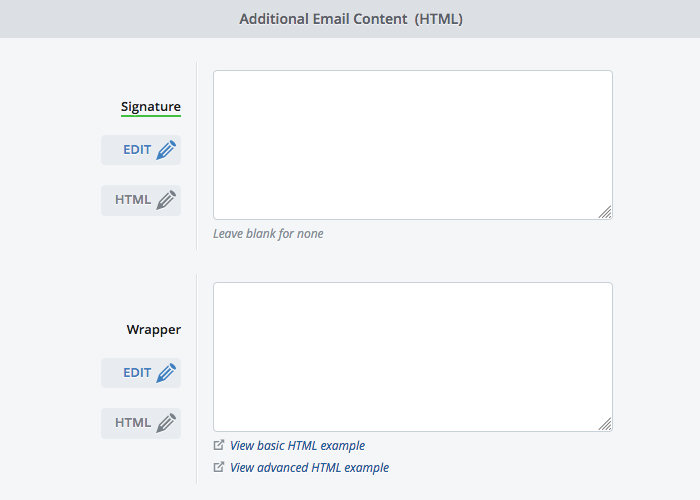 Underneath the field there are two links – one for the basic HTML wrapper template and one for the advanced HTML wrapper template. It is advisable to use one of these templates as a basis to set up your own as they have been created using email HTML best practices. Only use the advanced wrapper template if you are completely confident you can edit HTML. Click on the relevant link to view the HTML code of the wrapper template in a new window. Copy the HTML, paste it into the field and Save. You will now have a wrapper for your emails which has a grey background and a white area for the content. Editing your email wrapperBasic The only thing you should change on the basic wrapper template is the background colour. To do this, click on the Source button next to the Email Wrapper field. In the pop-up window find the first line of code in the Background Table section. It should look like this... <table cellpadding="0" cellspacing="0" border="0" width="100%" bgcolor="#F0F0F0"> All you need to change is #F0F0F0 to the colour you want to appear as the background of the wrapper. You can find out the HEX value online or via a graphics software package such as PhotoShop. Make sure you don’t delete the # symbol when replacing the colour value. Advanced Only use the advanced wrapper template if you are completely confident you can edit HTML. Trying to edit this via the Edit button will cause the template to break in some email clients. With the advanced email wrapper you can change the background colour, add in a logo, header links, copyright and company details and footer links. Each section is clearly marked out in the HTML to make it easier to edit. 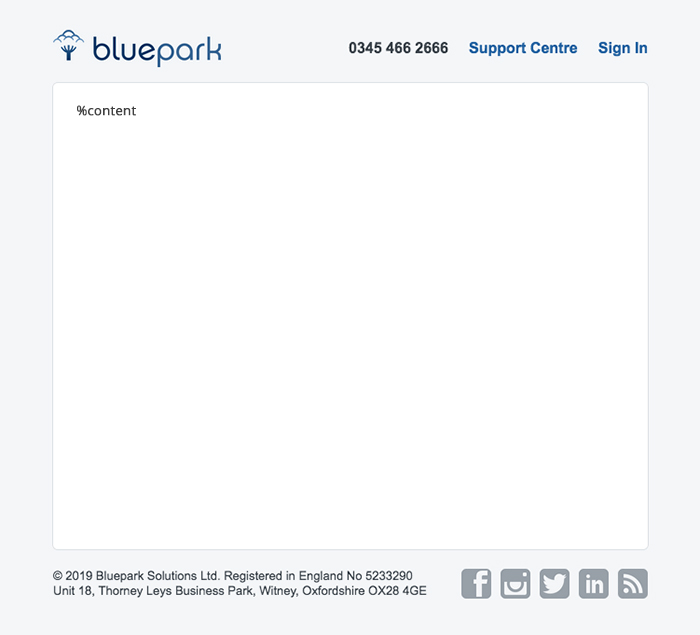 If you receive an email from Bluepark you will see our Email Wrapper as shown above, which we created using the Advanced HTML version. The variable %content is then replaced by the actual content of the email, whether this is pulled from the Email Newsletter section or one of the system's triggered emails. Creating your own wrapperYou can, of course, create your own wrapper from scratch, but it is advisable to only do this if you have experience and knowledge in coding emails. It is very different to coding a website as you need to know how different email clients render certain things. Without this knowledge it is likely your email will break in at least one of the following major email clients - Hotmail, Gmail or Outlook. Once you have created your wrapper design, add the variable %content where you want the content of the email to appear. Where can I use the email wrapper?Now you have your email wrapper set up, you will see it appear automatically on all of the triggered emails that are sent to your customers, such as Order Confirmation, Order Completed and Feedback. It won’t appear on the emails sent to you via the forms on your site, so don’t panic when you see these emails. It is also set by default to use the wrapper on Email Newsletters, which you can see in Marketing > Email Newsletters > Optional Code tab. The Enable Wrapper option will be ticked. However, you can override the default wrapper by adding a new one into the Wrapper field. Alternatively, you can send the email without any wrapper by simply unticking the Enable Wrapper option. 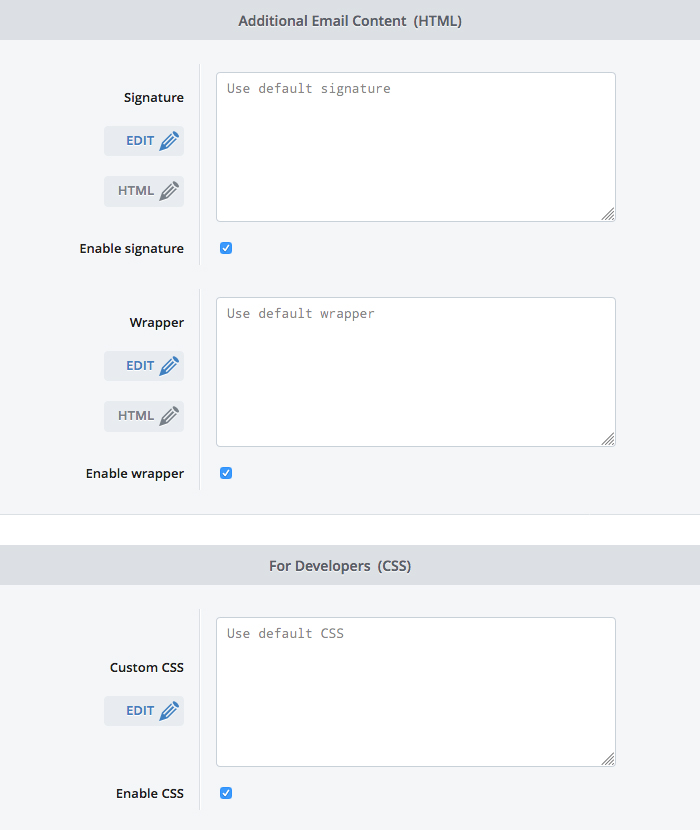 Within the same tab you can also override the default signature (as set in Settings > Settings > Website tab) and override the default CSS (as set in Design > Site Theme > Advanced Editor > Pages > Outgoing Email CSS). You can also toggle these to enable or disable them. Don't forget the legal requirementsIf you are a private limited company (Ltd), a public limited company (PLC) or a Limited Liability Partnership (LLP) you will need to comply with The Companies Act 1985 when sending out emails. This requires the signature of all emails to contain the following information...
If you are using the basic email wrapper, you can add this information into the default signature section to make sure it is added to every email. Or if you are using the advanced email wrapper, you can add this in the the 'Copyright' section in the footer. If you have any questions regarding setting up your email wrapper, please leave a comment below. Also, look out for our next blog post that will feature useful tips on best practices for email newsletters. Try Bluepark for FREE for 14 daysFull access to everything including our support team, no card details required |
|


|