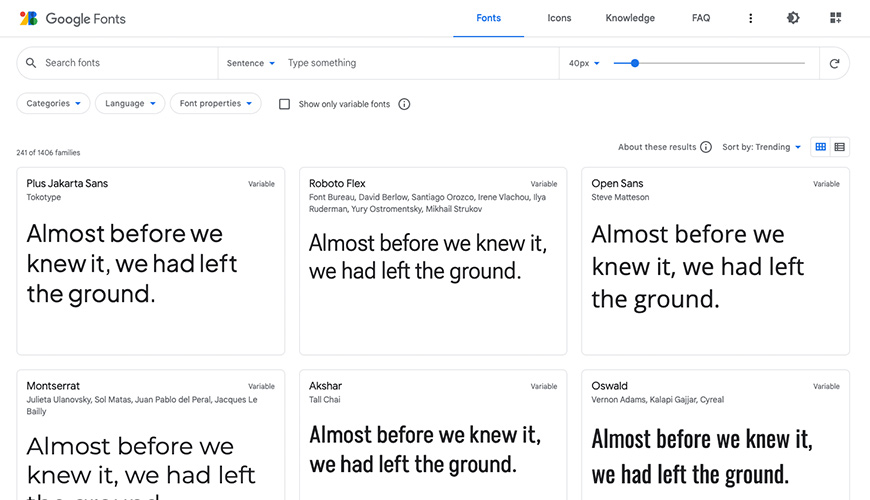
Before 2010 if you wanted to add a non-standard font to your website you would've had to install the font's files on your website's servers and linked to them using complicated code within the CSS to make sure it showed correctly. For the average online shop owner this was something that was very daunting, if not impossible, and so many sites on the internet all used the same fonts, known as web-safe fonts. Nowadays you don't have to worry about complicated code or placing files on servers you might not be able to access thanks to Google Fonts. This free, simple and straightforward service allows you to add all sorts of unusual fonts to your website, giving you freedom to create a truly unique design for your brand. Finding your fontsOnce you get to Google Fonts you'll be confronted with a long visual list of all the different fonts on offer. This initially can be rather daunting, however, if you have an idea of what you're looking there are tools to help you narrow down to what you're after.
At the top left there is a search box and several filtering sections. If you know the name of the font you want to add to your site just search for it straight away. It may not be available as a Google Font but it's always worth checking.
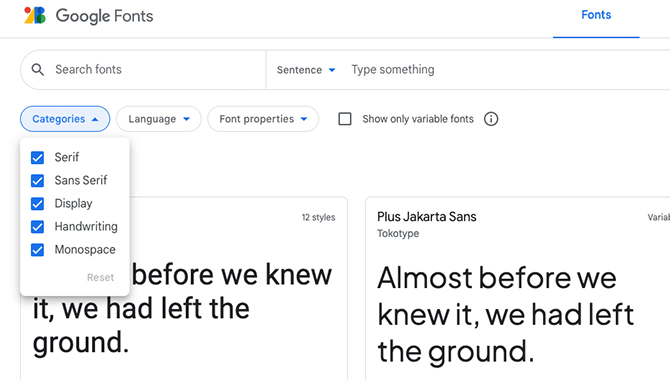
If you're just browsing to find a font you like think about the different features of it. Use the Categories filter to view the different fonts on offer for the following different typefaces. Serif - more traditional fonts with a small line attached to the end of each stroke in a letter
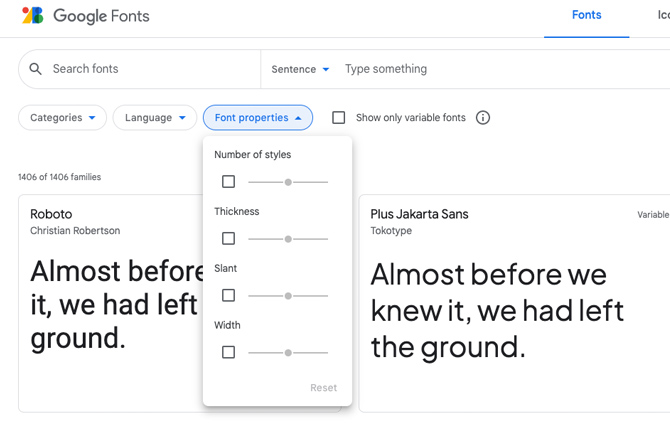
Alternatively use the sliders on the Font Properties filter. Think about whether you want thick or thin letters? Should they be slanted? How compressed together do you want them? Experiment with each one to see what fonts are shown. The middle drop down, called Language, defines what language characters are used. By default this is set to All Languages. However, if you just want to view English, then select Latin Extended. The last filter is a tick box called Show only variable fonts. We recommend ticking this box to ensure the font you choose has various font weights included within its file, allowing your site to load them quicker. Viewing your fonts
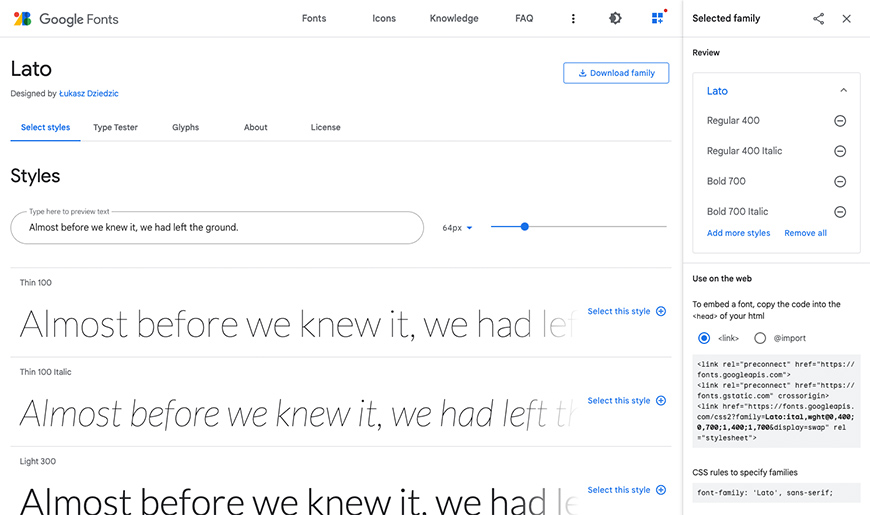
Above the filters you will see a drop-down called Sentence. In here you can select what shows in each of the font previews below. This allows you to view the default sentence, the entire alphabet, as a full paragraph, in numerals and a further option called Custom. This last option allows you to add in your own text in the Type Something field to the right. Lastly, you can set the pixel size of the font using the Size slider if you wish. Choosing your fontA general rule of thumb in website design is to use one font for titles and another for everything else. We wouldn't recommend using more than three fonts in total because adding multiple fonts to a website will instantly make it look messy, less professional and harder for customers to navigate. Most fonts are suitable for titles, as these are usually displayed at a larger size, but it is imperative to ensure they are readable, otherwise customers will struggle to navigate your website. Sans Serif fonts, such as Roboto, Lato or Open Sans, are best for the paragraph as they're clean and easy to read in a smaller size.
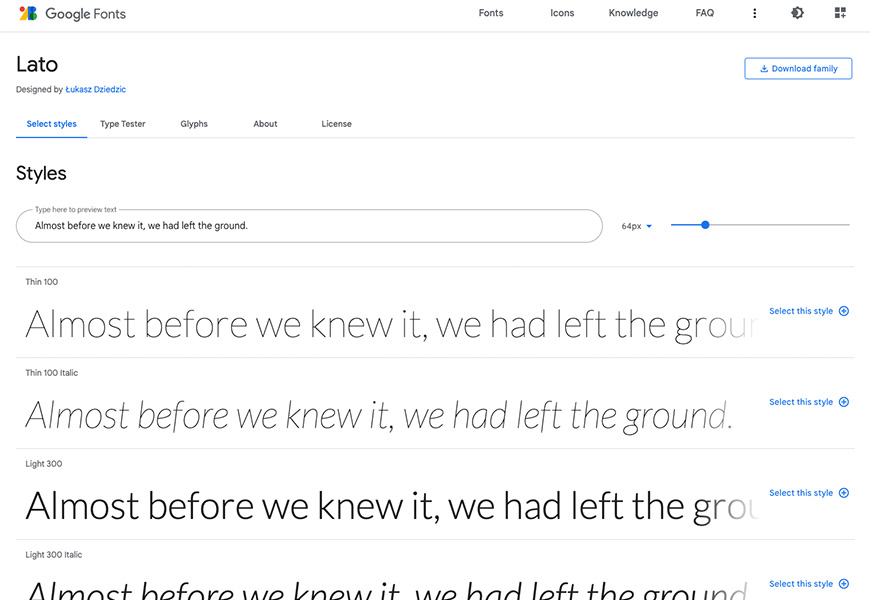
Once you've decided which fonts you want to use, click on the font to see its variations, then click on Select this style. We recommend selecting Regular 400, Regular 400 Italic, Bold 700 and Bold 700 Italic on all of your chosen fonts to ensure they render well on the site. Installing your fontOnce you've finally chosen which font(s) you want to use you'll need to grab a couple of pieces of code. If the Selected Families section isn't displaying on the right hand side, click the View Selected Families icon at the top right.
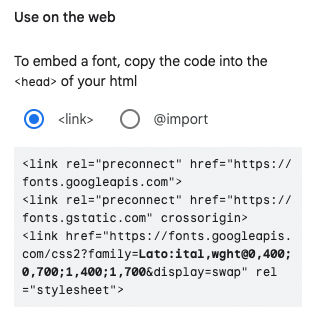
In this right hand section, make sure the <link> option is highlighted within the Use on the web section and then highlight and copy the code in the grey section below.
Next, you will need to paste the code into the <Head> section of your theme.
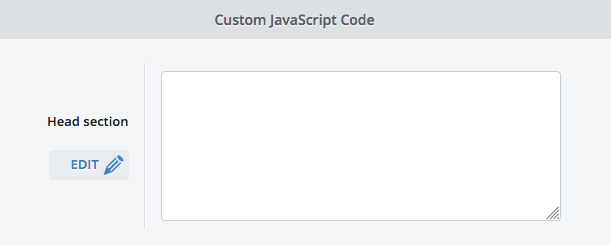
To do this go to Design/Layout > Installed Themes and click on the Advanced Editor button underneath the theme preview. In the Pages tab, scroll down to the Head Section field, click the Edit button next to it and paste the code in. Don't remove or paste over any of the code that may already be in there. Remember to save and confirm. You will need to repeat this on each theme, if you are using multiple themes and want to feature the font on each theme.
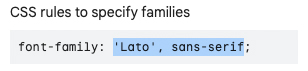
Lastly, you will need to copy the font family reference underneath the CSS rules to specify families section in Google Fonts and paste it wherever you want this font to appear in the theme. You will only need to highlight and copy the actual font-family name, as highlighted above, and not the text that says 'font-family:'.
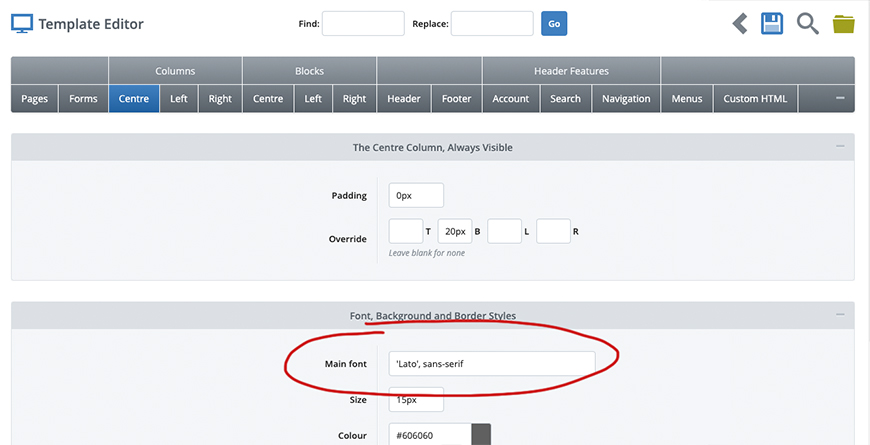
In the Advanced Editor of your theme you will need to paste this font name into the section(s) you want this font to appear. So, for instance, if you want your main content text to use this font then paste the font name into the Main Font field in Columns > Centre, Columns > Left and Columns > Right. For more advanced users, if you want to refer to the font within the Additional CSS field in the theme you will need the full font-family text as shown in the Specify in CSS section on Google Fonts. Try Bluepark for FREE for 14 daysFull access to everything including our support team, no card details required |
|


|