Cate

How to: Link your website to your social profiles

9 April 2014  |  Cate

Skill Level: Beginner

If you have set up a Facebook page, a Twitter profile, or any other social profile, you will want to make sure your website customers know where they are so they can interact with you. The best way to do this is to add social icons into your header or footer so that they appear on every page of your site. There are hundreds of free icons available online, just search on Google for ‘social icons’ and you’ll be sure to find ones that suit your design.

Facebook icon   Twitter icon   Google icon   Pinterest icon   Linkedin icon   YouTube icon   Blog icon

We have created a small standard range of the most popular icons for you to use on your own site. They come in four different sizes and either have a transparent background, so the color of your header or footer will show through, or a white background, so they stand out against your header or footer background.  Just click on the button below to download the full set.

Adding icons to your website

The most common place to add social icons on a website is the footer.  This is so they are placed with all other customer service links such as Delivery & Returns and Terms & Conditions.  To add social icon to your footer just follow these steps:

  1. Resize icons to the size you want them to appear on your website in a graphics package such as PhotoShop
  2. In the admin panel of your website go to Theme / Layout > View Theme > Footer tab
  3. Next to the Footer Content field click on the EDIT icon
  4. Click on the Insert Table icon and use the following settings

    Table properties

  5. In the left-hand cell add any links you may want, such as Terms & Conditions and Privacy Policy, and any legal requirements, such as the company registration number and VAT registration number (if registered)
    1. Type in the text for your link
    2. Highlight this text and click on the Insert Link icon
    3. From the Internal URL drop-down select the page you want to link to (the page must already exist in the Page Manager) and click on OK
  6. In the right-hand cell add in the social icons you want on your site
    1. Click on the Insert Image icon
    2. Click on Browse Server and then the Browse and Upload button
    3. Select the first social icon image from your computer and click Open
    4. Click on the Assign Image button
    5. Add the alt text into the Alternative Text field and click OK
    6. Click on the social icon to highlight it and click on the Insert Link icon
    7. In the URL field paste the full URL of your social profile
      (example: https://www.facebook.com/BlueparkSolutions) and click OK
  7. Align the right-hand cell to the right so that the content looks uniform
    1. Right click on the right-hand cell
    2. In the menu that appears go to Cell > Cell Properties
    3. Set Horizontal Alignment to Right and click on OK
  8. Once you have added all of your links and social buttons click Send Changes and Save.

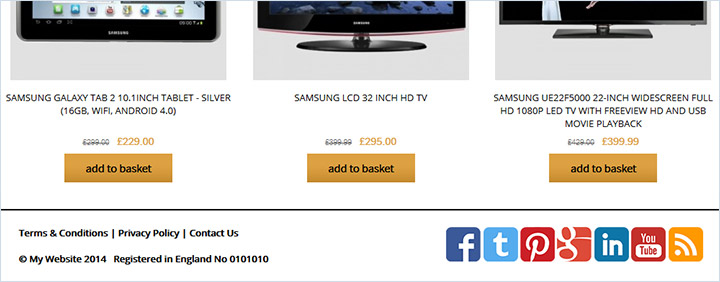
Your footer should then look something like this:

Footer structure

Other methods of connecting your website to your social profiles are possible. To add social share buttons to your product pages and blog pages go to our previous blog post How to: add Social Share buttons to your website. Also look out for our next post which will explain how to add social widgets to your site.

Try Bluepark for FREE for 14 days

Full access to everything including our support team, no card details required