One of the best things about Bluepark's built-in themes is how easy it is to switch to a new one without affecting your content. However, sometimes you’ll find the perfect theme, only to realise that it doesn’t quite match your brand's colour scheme and you're just not sure how to go about changing it. This can be frustrating, but it doesn’t have to derail your plans. With a our Find and Replace feature, you can change your theme’s colour options quickly, and make your website look just the way you want it to. In this post, we'll show you just how simple this is to do. Choosing your theme
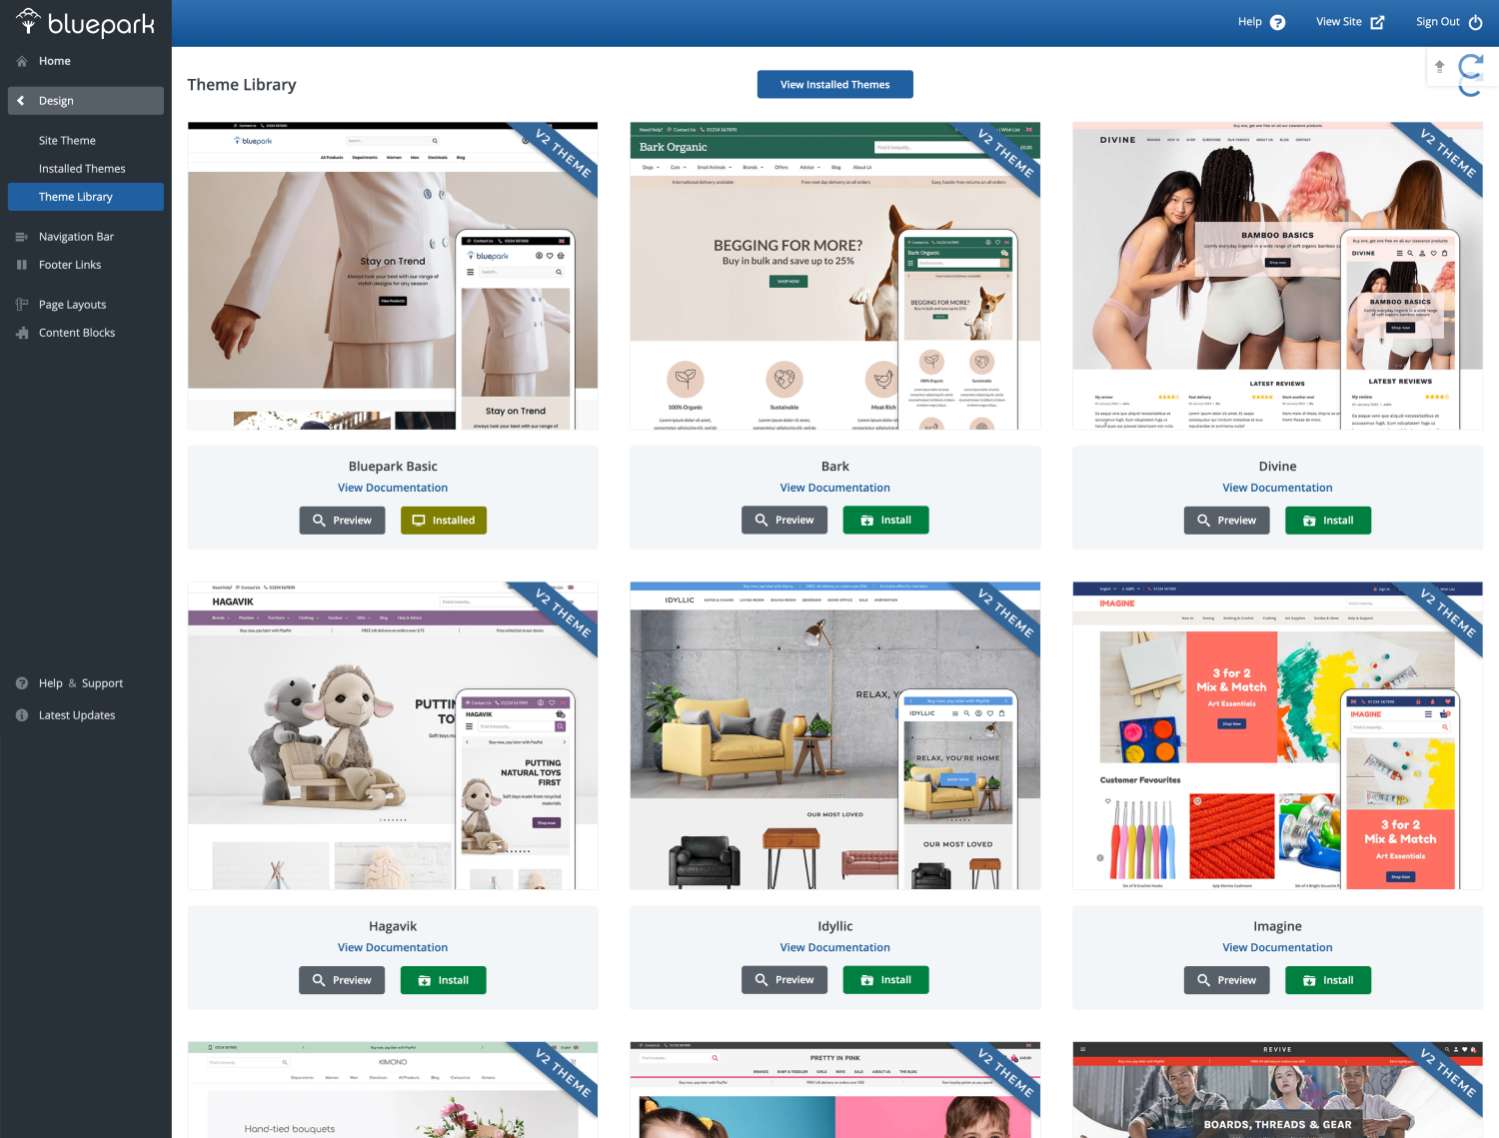
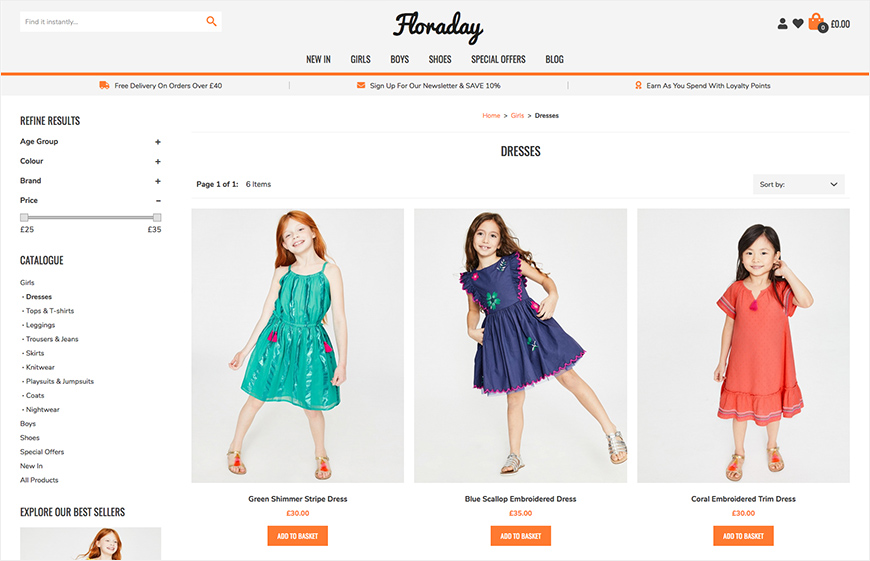
There are two places you can view our themes, on our website or within the Theme Library in your admin panel, as shown above. If you view them within the Theme Library, you can then preview each one and explore all of their features. Just click on the Preview button under each theme and, in the pop-up window, you will see our demo site with the theme assigned to it. As you will see, the content remains the same no matter which theme you look at because they are all shown on the same site. Unlike many other website builders and ecommerce platforms, the content is entirely controlled by the Layouts and Blocks assigned to each page, not the theme. This gives you a higher level of flexibility when it comes to designing your site. You can find out more on our How to change the content on your theme post.
If you wish to view how the themes look with your own site content simply click the Install button under each of the themes you want to view and then click on the Magnifying Glass icon next to each one within Installed Themes, as highlighted above. Please note, when installing new themes, make sure Make Default is unticked and then they won't be live on your site, and your customers will not see them. Changing the coloursOnce you've decided which theme to go for, you can go ahead and change it's colours. Generally each theme has one or two dominating colours and these are usually what you wish to change.
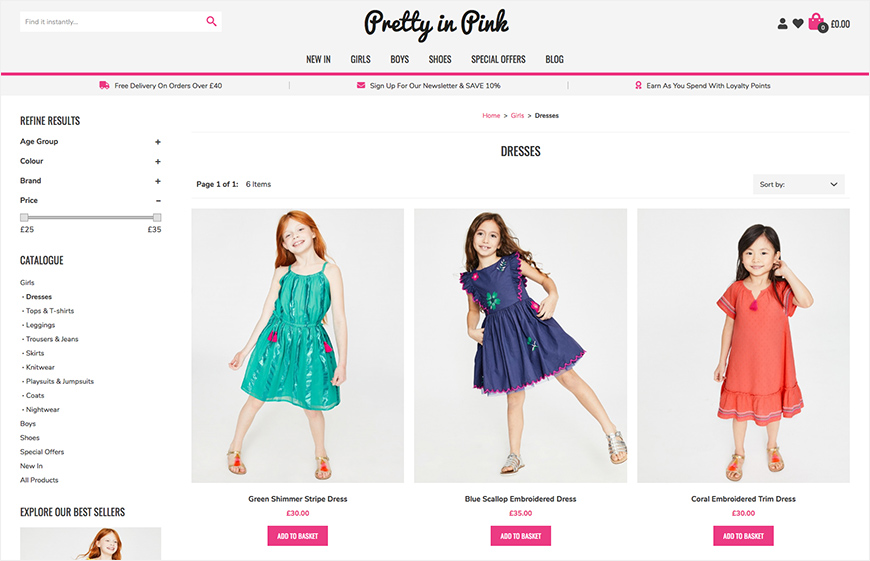
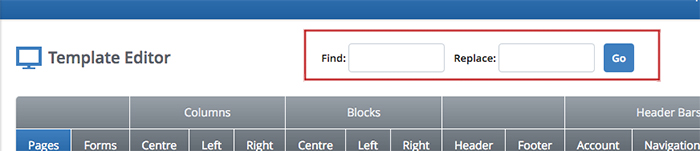
For instance, Pretty in Pink is made up of subtle tones of grey with a dominant Cerise Pink. Maybe this pink just isn't suitable for your brand and you'd like to change it to your brand's dominant colour of orange. If so, you would simply follow these steps:
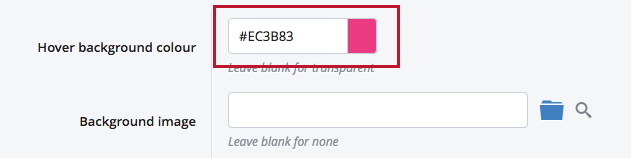
You can use the Find and Replace feature to change anything within the theme, such as fonts, colours, padding and more. However, please bear in mind it will change ALL occurrences of whatever you add into the Find field and this may affect parts of the design you may not expect it to. Making your theme liveBefore making your new theme live you will need to add in your logo, which you can do within the Theme Overview. If the theme is a V1 theme, you will also need to add in the links you want within the footer. These can be done within the Footer Content field for desktop within the Footer tab. You will also need to replicate this within the Footer Content Mobile section. This isn't necessary on V2 themes.
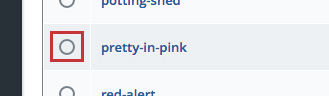
Once these changes have been completed and saved, go back to Installed Themes and click on the empty radio button to the left of the new theme's name. This will set it to the default theme and set the theme live to all visitors.
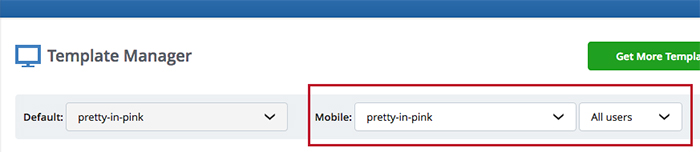
And, if it's a V1 theme, don't forget your mobile theme. By default this will change to the default theme automatically, as shown above, and will already be optimised for mobile devices. However, if you plan to use a completely different theme for mobile, then you will need to change this manually afterwards. This isn't necessary for V2 themes. Try Bluepark for FREE for 14 daysFull access to everything including our support team, no card details required |
|


|