 | How to add a logo to your website12 November 2013 | Cate |
The importance of a logo
Most established brands already have a logo and this should always be reflected on every piece of media that promotes the company, whether it is flyers, email newsletters, billboards, company vans or shop fronts. It should always appear within the header of your website too. This will make sure those who are already familiar with your brand recognise it instantly but will also help to convince new customers that you are a professional, trustworthy company.
If you don’t already have a logo it is always advisable, if you don’t have the skills yourself, to have one professionally designed for you. If you are worried about the cost, remember this will be considerably cheaper than a website design and will become the one thing customers associate with your business for years to come.
See the blog post The Basics of Ecommerce Web Design - Part 1 for more detailed information about designing your logo.
Positioning tips
It is generally expected that a logo will appear in the top left of the header and customers will instinctively look for it there. However, for certain designs, a central logo is also acceptable. You will notice that the leading ecommerce websites all have theirs in the top left.

Make sure your logo image is resized to fit within the Header before uploading and try to keep it to a minimum size so that it doesn’t take up valuable selling space on the site. Generally a header should not be any bigger than 100px in height (remembering that this area also includes the navigation bar), so your logo should be kept as small as possible. Notice how little amount of space the Marks & Spencer logo takes up on their site, it is only 88px wide and 35px high.

Adding a logo to your website (V2 Theme)
With a V2 theme installed and set as default, please follow the steps below to add your stores logo.
- On the admin panel, go to Design and then Site Theme. This will bring you to the Theme Overview page.
- In the Header Logo section, click the Browse button on the right of the Image logo box.
If you are a current V1 site customer who is looking to update to V2, you can find more information about V2 themes and how to install a V2 theme in the Introducing Bluepark V2 Themes post.
Adding a logo to your website (V1 Theme)
In the theme go to the Header tab and you can either add your logo in as the Header Background field or, better still, add it into the Header Content field where you can add a link on to it to take customers back to the home page.
- In the admin panel, go to Design / Layout > Installed Themes and click into your default theme
(this is one with the blue ball to the left of it) - Next to the Header HTML field click on the EDIT button
- In the pop-up window, right click anywhere within the main content and click Select All within the menu
- Right click on the selected area and click Delete within the menu
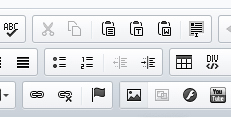
(Please note: this will remove all previous header content and code) - Click on the Insert Image icon
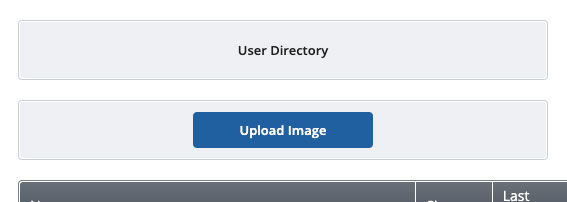
- Click the Browser Server button, then click the Upload Image button and select the logo file from your computer.
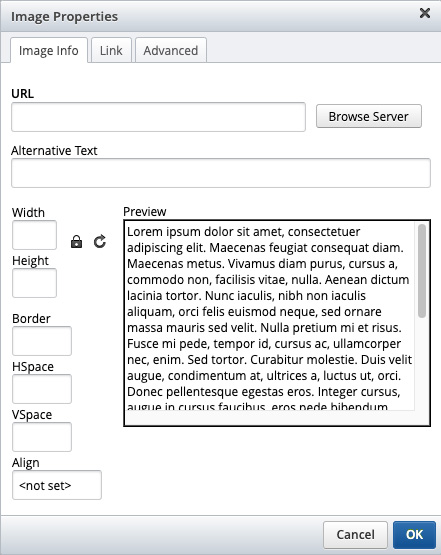
- Add in your company name to the Alternative Text field and click on Insert
- Click on Ok and the image will now be pasted.
- If you need to adjust the image size, double click the image and enter in the width value in pixels.
- Click on the Save icon in the top right and confirm the changes by clicking on the Green Tick