A clear navigation and properly structured product catalogue can make all the difference on having a successful shop. A customer's journey to a product should be quick and easy, so making sure your product categories are well organised is a must. It's also worth noting that Google consistently strives to provide users with the most relevant results based on their search, so it is crucial to optimise your product categories to ensure they rank well within their search listings. Contents So, where do I start?Putting pen to paper (or creating a spreadsheet!) is the best way to figure out how you want your online shop's categories to be organised. This will help you visualise how the shop will look and the steps a customer will take to find products quickly. Take guidance from Hick's law, "simplifying choices removes barriers in decision-making" and keep things as straight-forward as possible. Get inspiration from successful competitors and, if a common theme occurs, stick to this on your site because this is what people will expect. Optimising your categories for SEO first, before adding products, is definitely recommended. While products can change over time, go out of stock, be discontinued, etc, categories typically don't. So making sure this is set up first is vital, not just for customers but also for Google. Create a product categoryOnce you're happy with how you want your categories to be structured, creating your first basic product category is easy with the following steps.
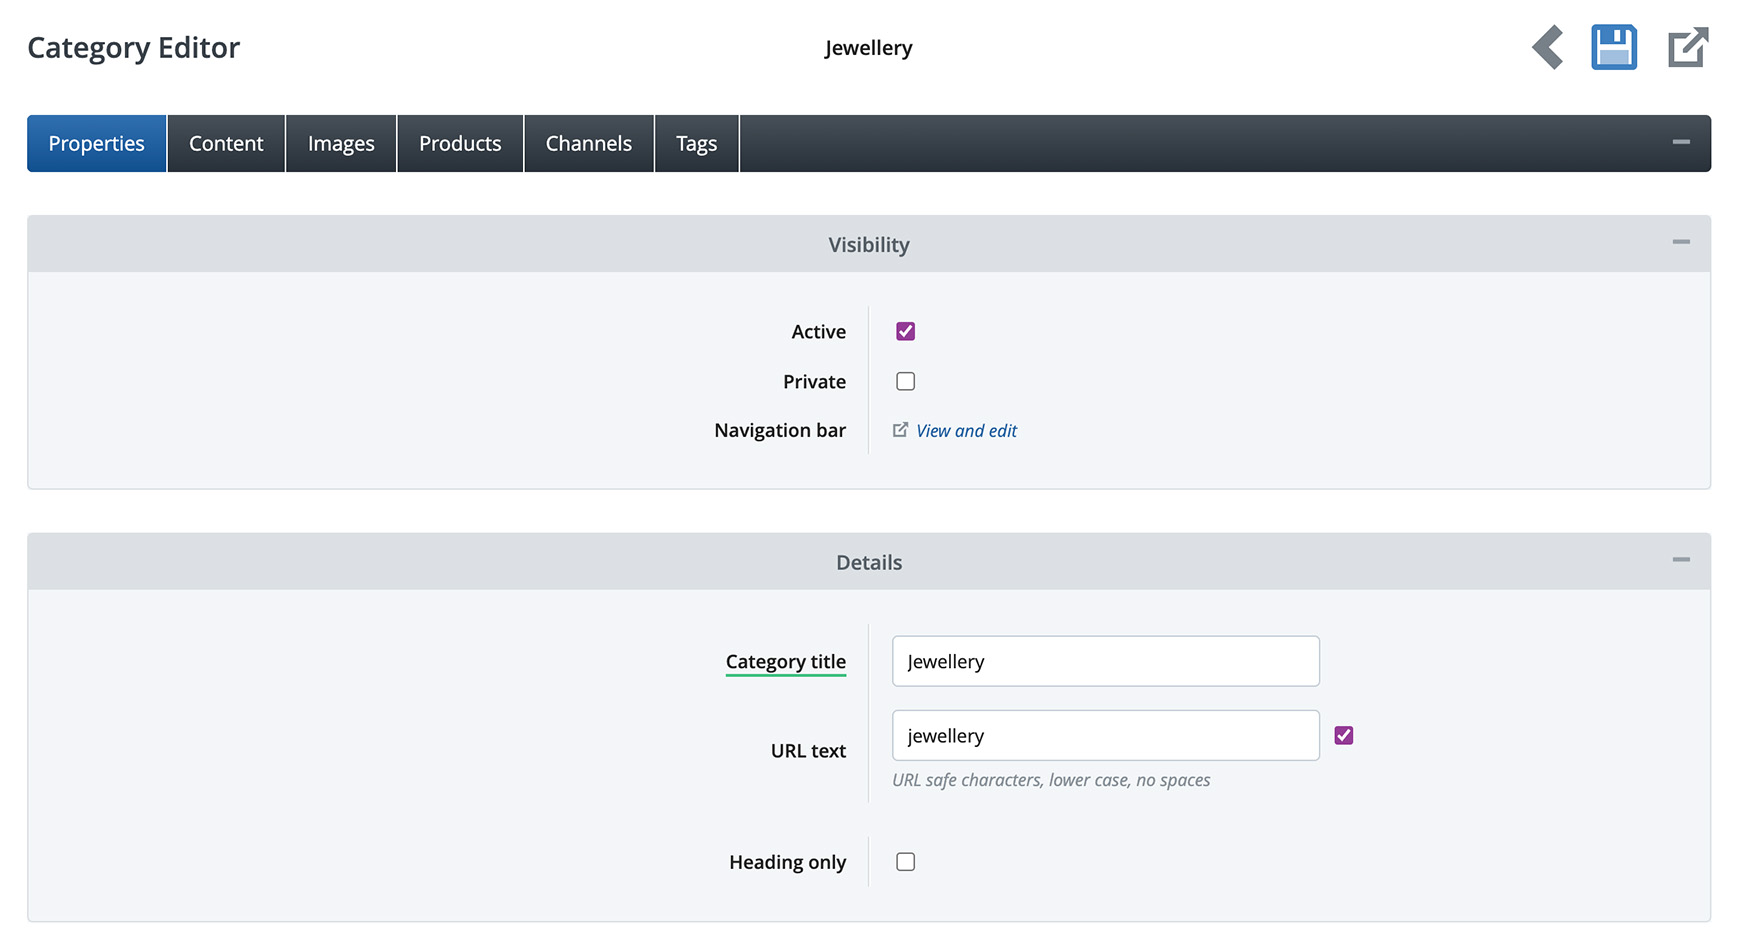
Tip In our example below, we've entered 'Jewellery' into the Category title field and the system has auto-generated the URL text from the title in the field below. This is then set as the URL of the category, so it will look like https://www.domain.co.uk/jewellery. It is recommended that the Category title and URL match as this is good SEO practice, so make sure the box is ticked to the right of the URL Text field. Once saved, the new product category is ready to start assigning products to.
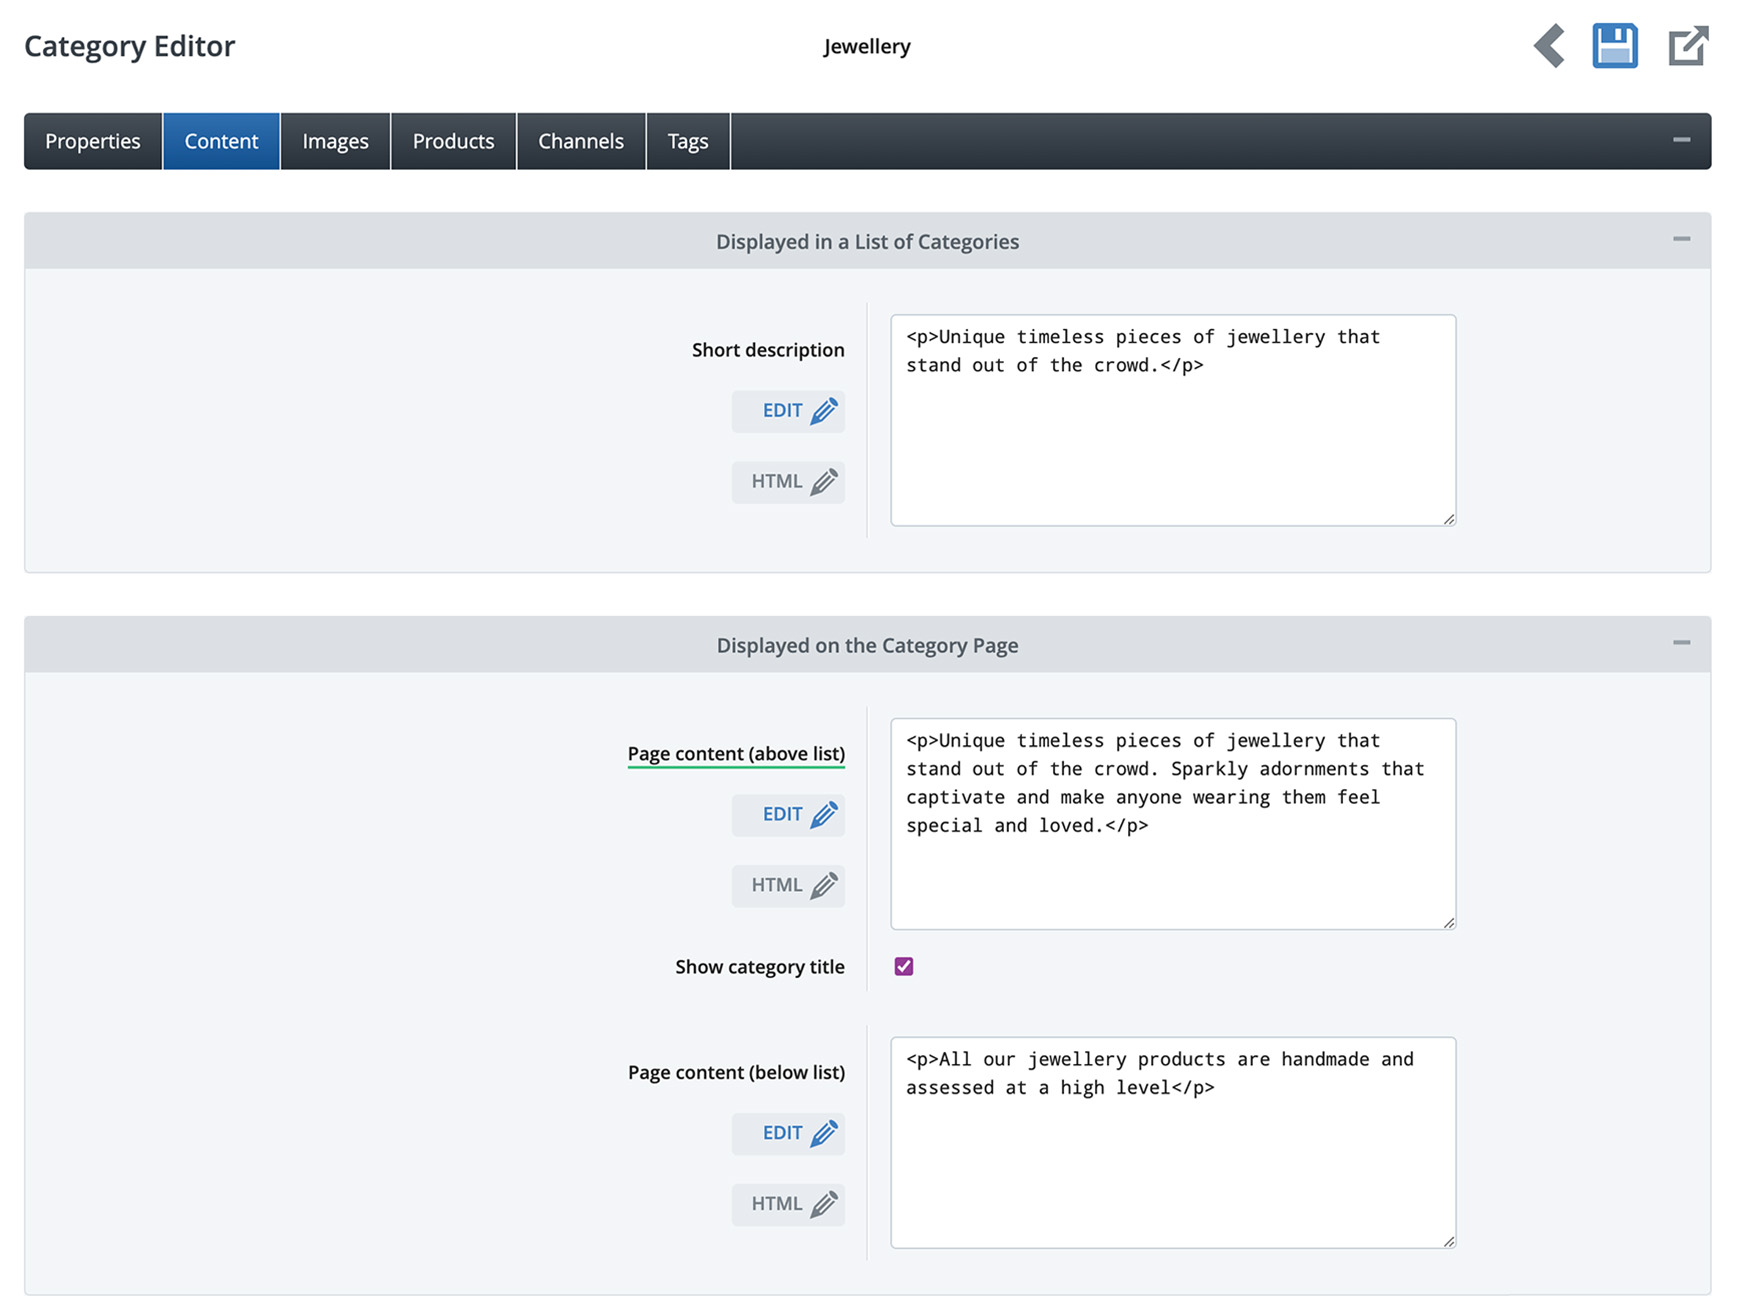
We have kept all other options set as default for now, as we can come back to more advanced settings later. Add category detailsOn the Content tab, there are three areas to add text and images to. The Short Description will appear below a category's thumbnail and title when shown within a list of categories. This could be within a block on the homepage or on a category where a list of sub-categories are shown. As most people don't read much text online these days, it is recommended to only use this field if it's absolutely necessary, and to limit the text to no more than one or two short sentences, to ensure the site doesn't look cluttered and is user-friendly. The Page Content (above list) field displays content above the list of products within the category itself. And likewise, the Page Content (below list) field displays content below the list of products.
It is advisable to add a short summary of the category within the Page Content (above list) field for SEO purposes, so Google understands what the page is about. This shouldn't be any longer than three lines. Longer sections of text should be added below the list of products to ensure customers aren't distracted by lots of text and can get to the products quickly. Tip Assign products to a product categoryIf you already have products added to your site, you can now start assigning products to a category by going to the Products tab. By default, the Product Assignment drop-down is set to 'Manual Selection'. This means that you can manually select your products by clicking the Browse button and choosing which products you want to assign. Once you click the Browse button, all of your products will be listed straight away within the pop-up window, if they haven't been assigned to categories yet. If you have started to categorise products, you will need to select the category they're assigned to within the drop-down at the top. Once you see the products you want to assign, you can then select all products by clicking the Select all checkbox at the top of the list or choose individual products by clicking each relevant checkbox. Then click on the Assign Selected button at the bottom to add them. The other options within the Product Assignment drop-down are All Products, Latest Products or brands that have been added via Products > Brands. Choosing any of these options will assign qualifying products automatically. Please note, products must have their relevant Brand set in the Properties tab in the Product Editor to ensure they show within a Brands category. Tip Sub-categoriesIf you have a large product catalogue, having sub-categories allows customers to narrow down their searches and find the exact item they were looking for quickly. Additionally, sub-categories can help to organise and categorise products in an easy to understand manner, which can make the shopping experience more intuitive and user-friendly, leading to increased sales and revenue. Create a sub-categoryTo create a sub-category, first you need to have a parent category created. Once you have this in place, follow the below steps to create a sub-category.
Tip Add sub-category thumbnailsHaving thumbnail images for your sub-categories isn't just visually pleasing but also good for user experience because most people respond and interact with images, rather than text online. To add thumbnails to your categories, follow the steps below.
Tip Category page examplesBelow are some examples of a category list page, such as our category example we built in this guide, and a few of our customer's stores who have built upon the basic design and changed this to their brand and needs. 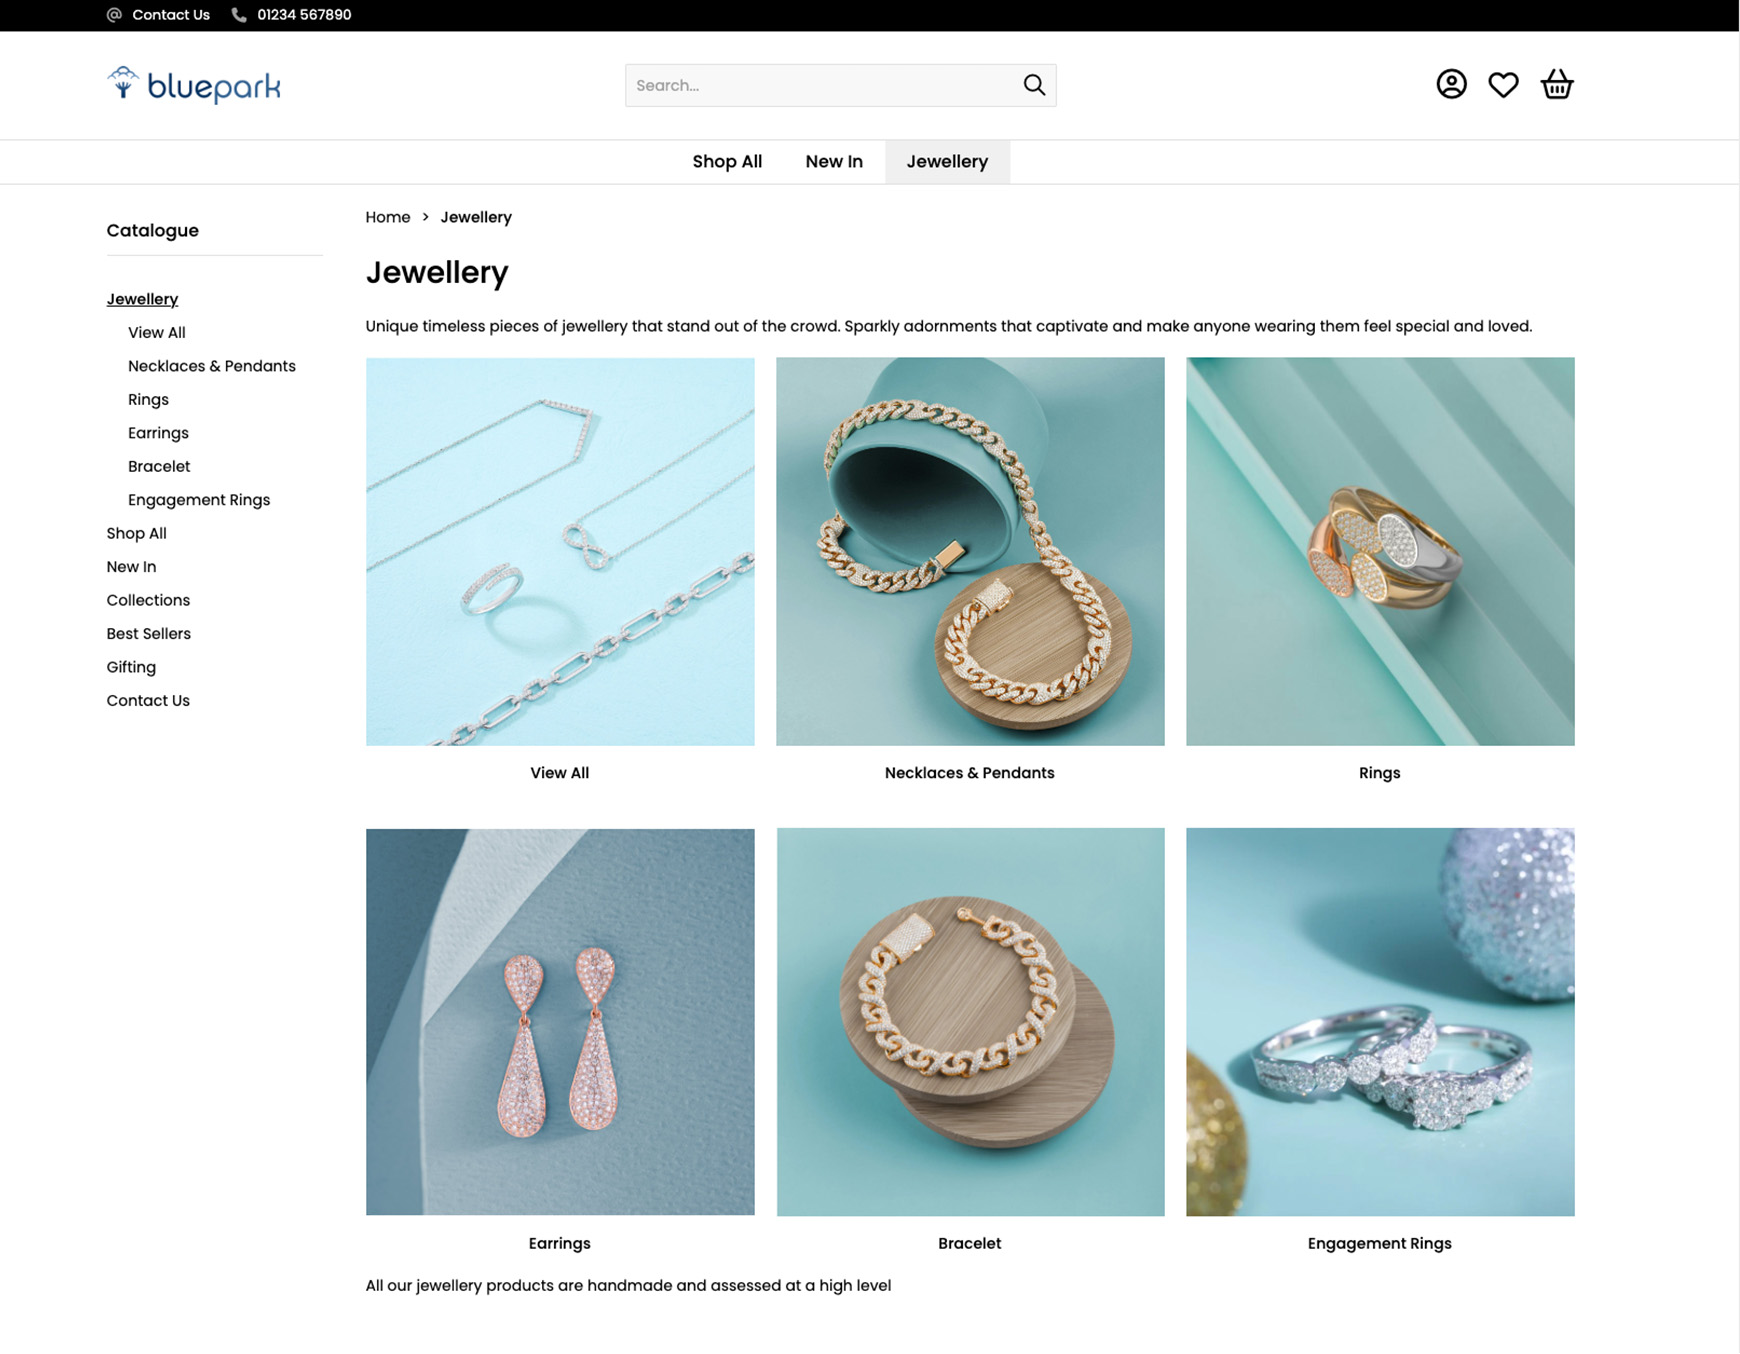 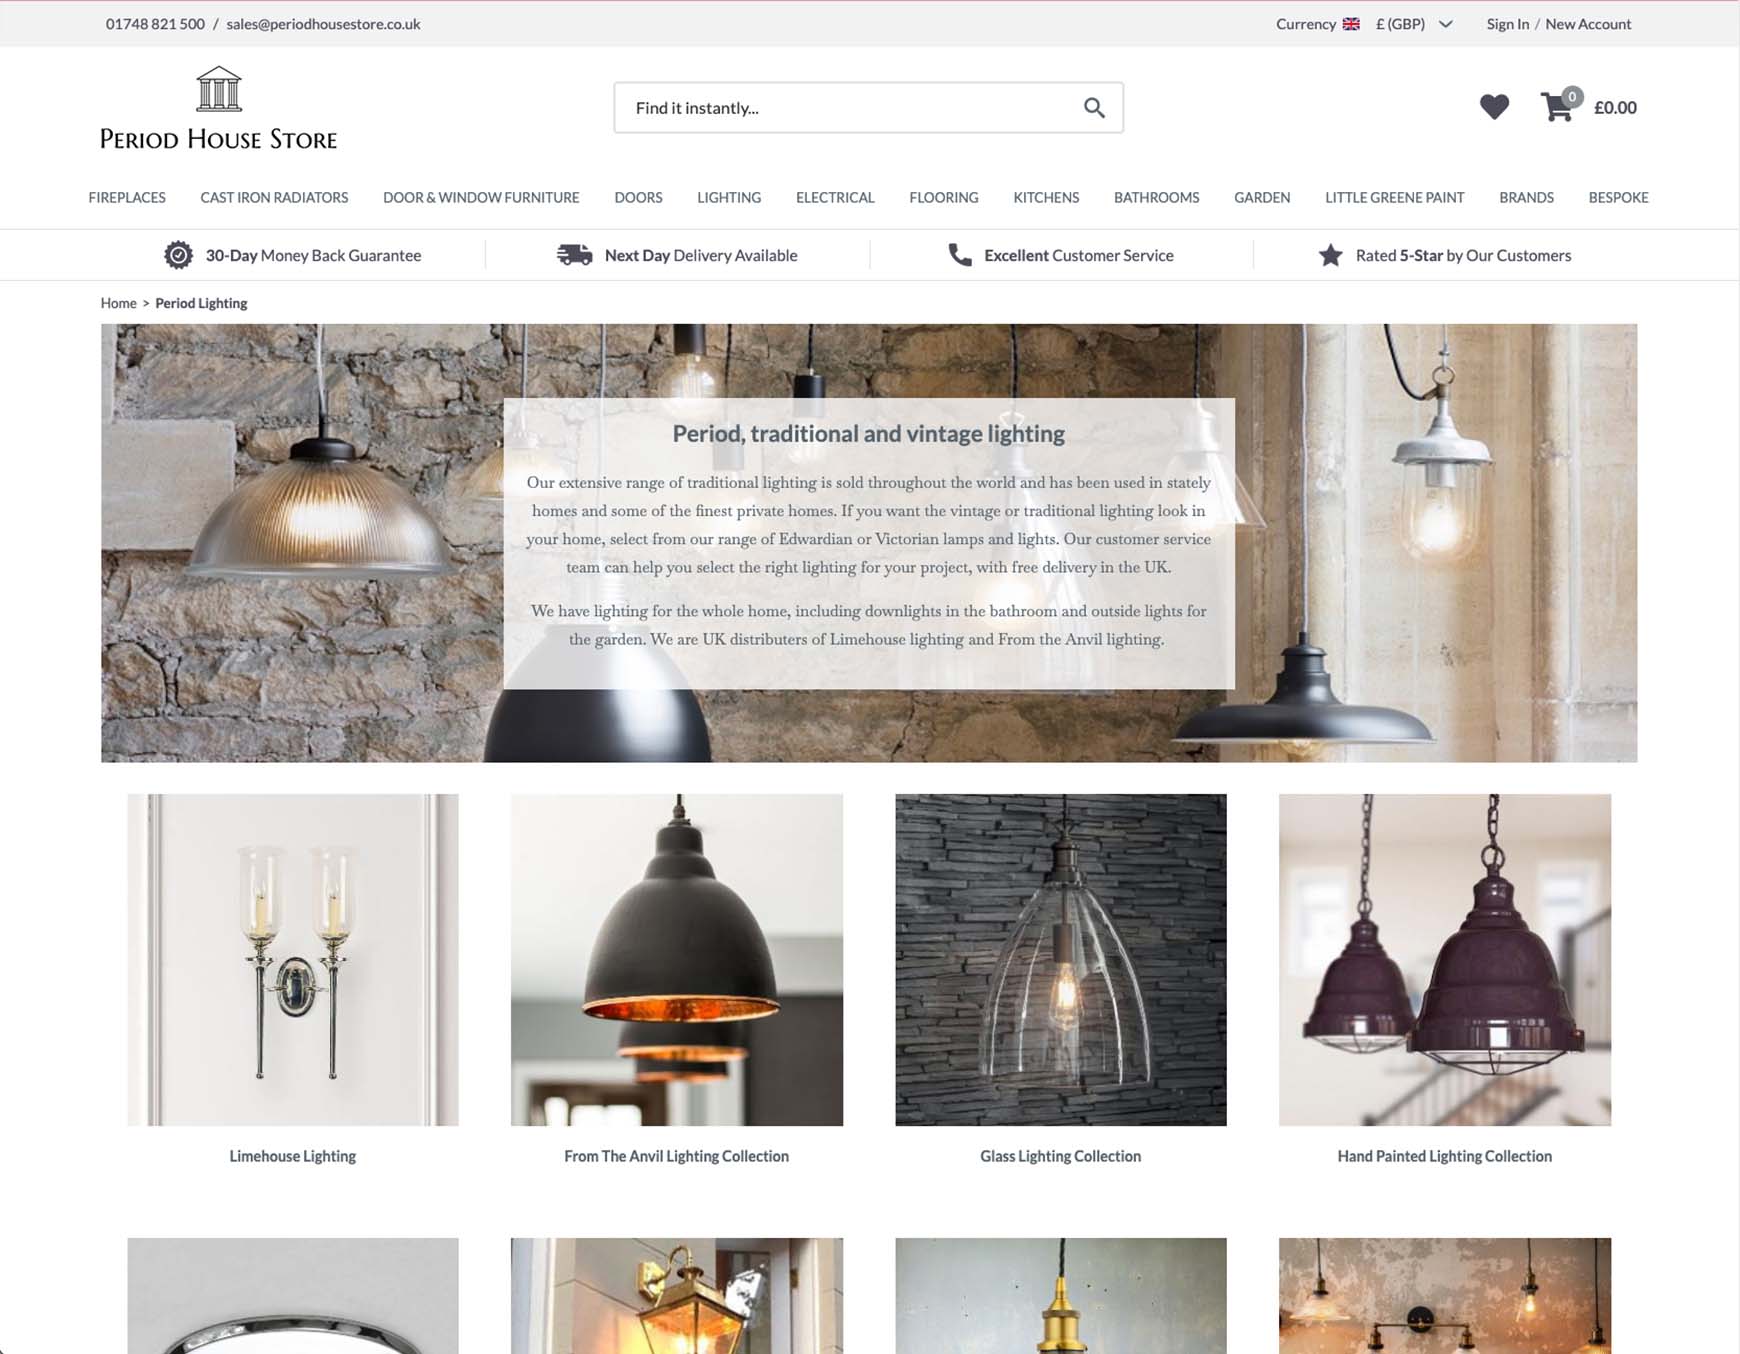 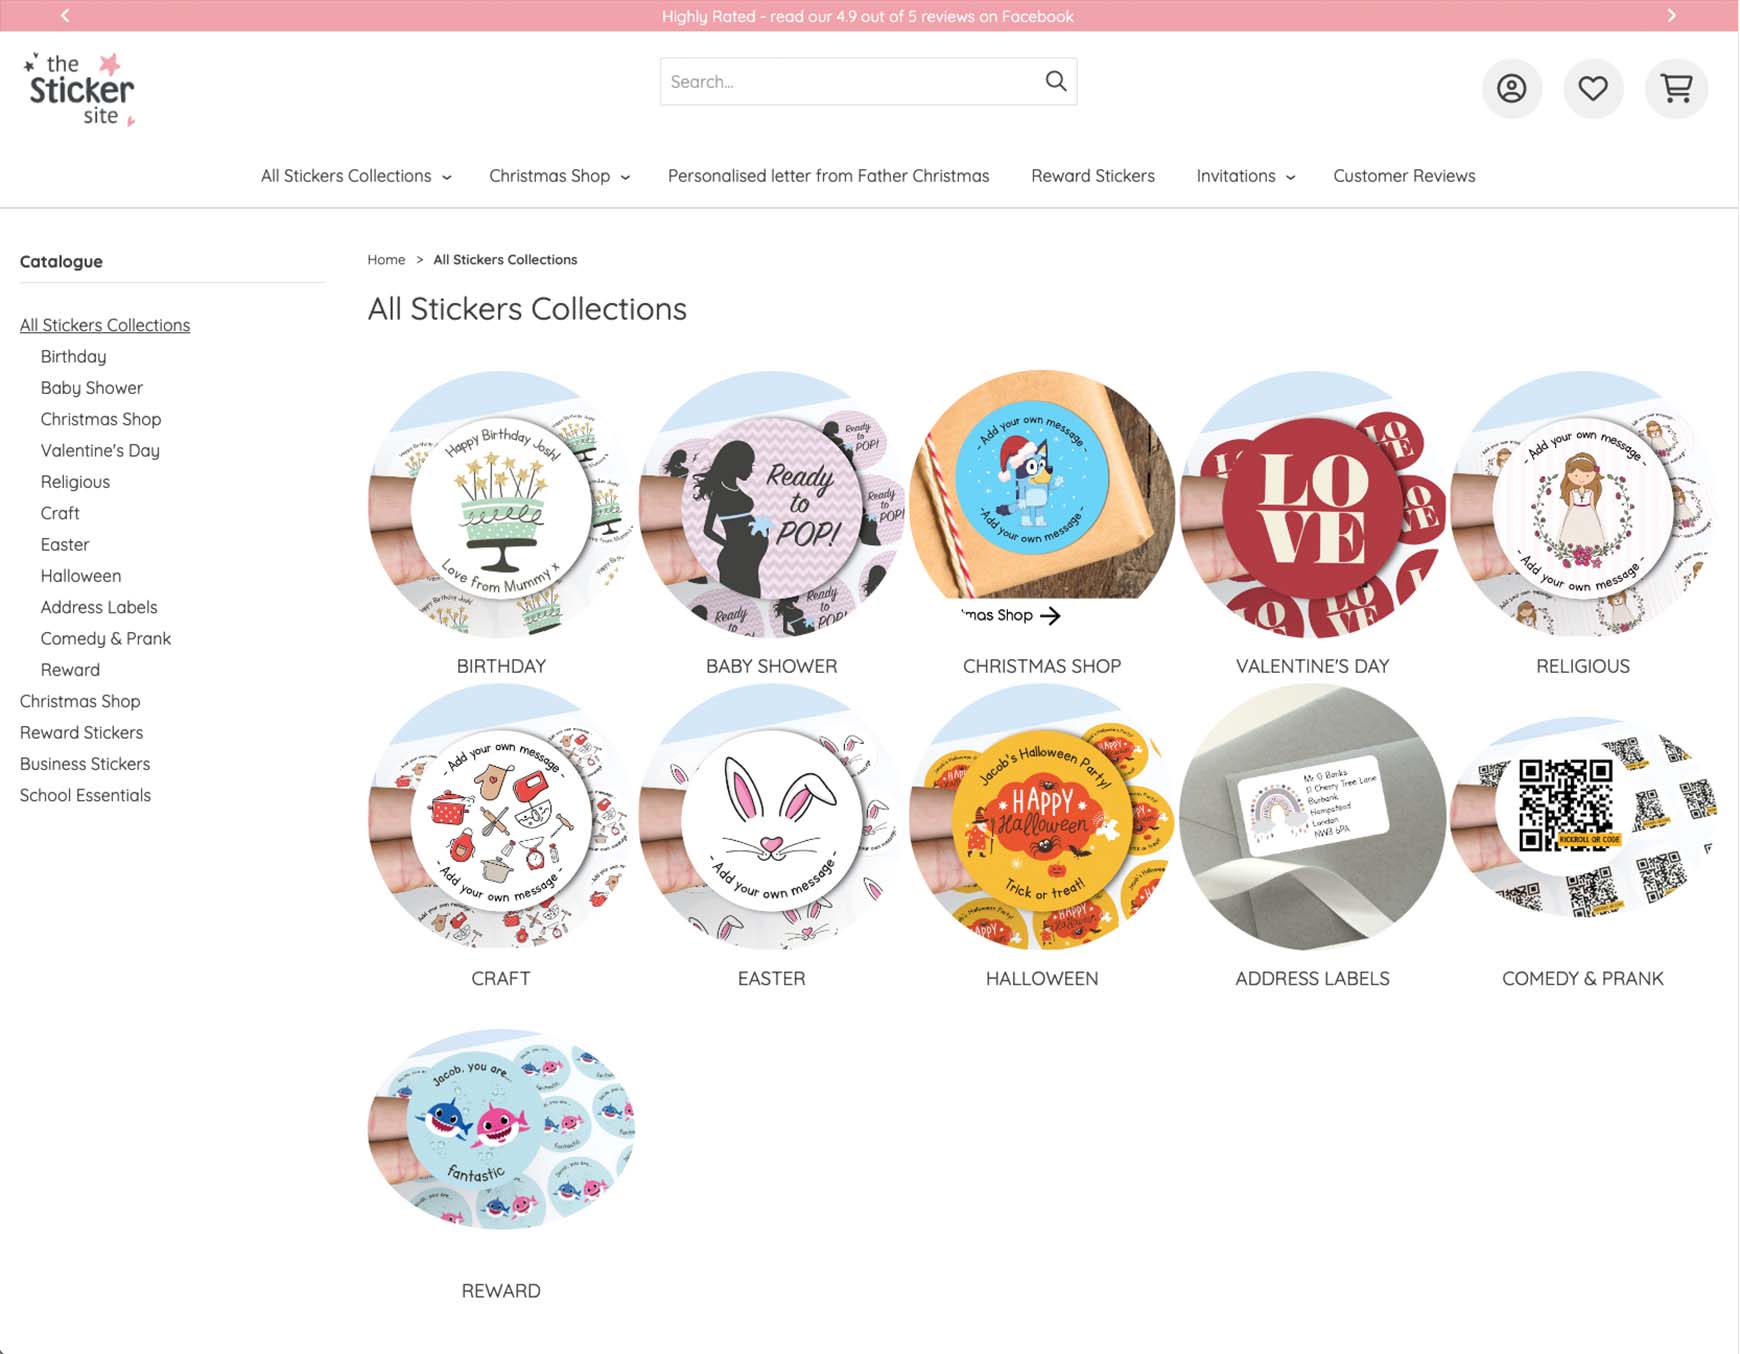 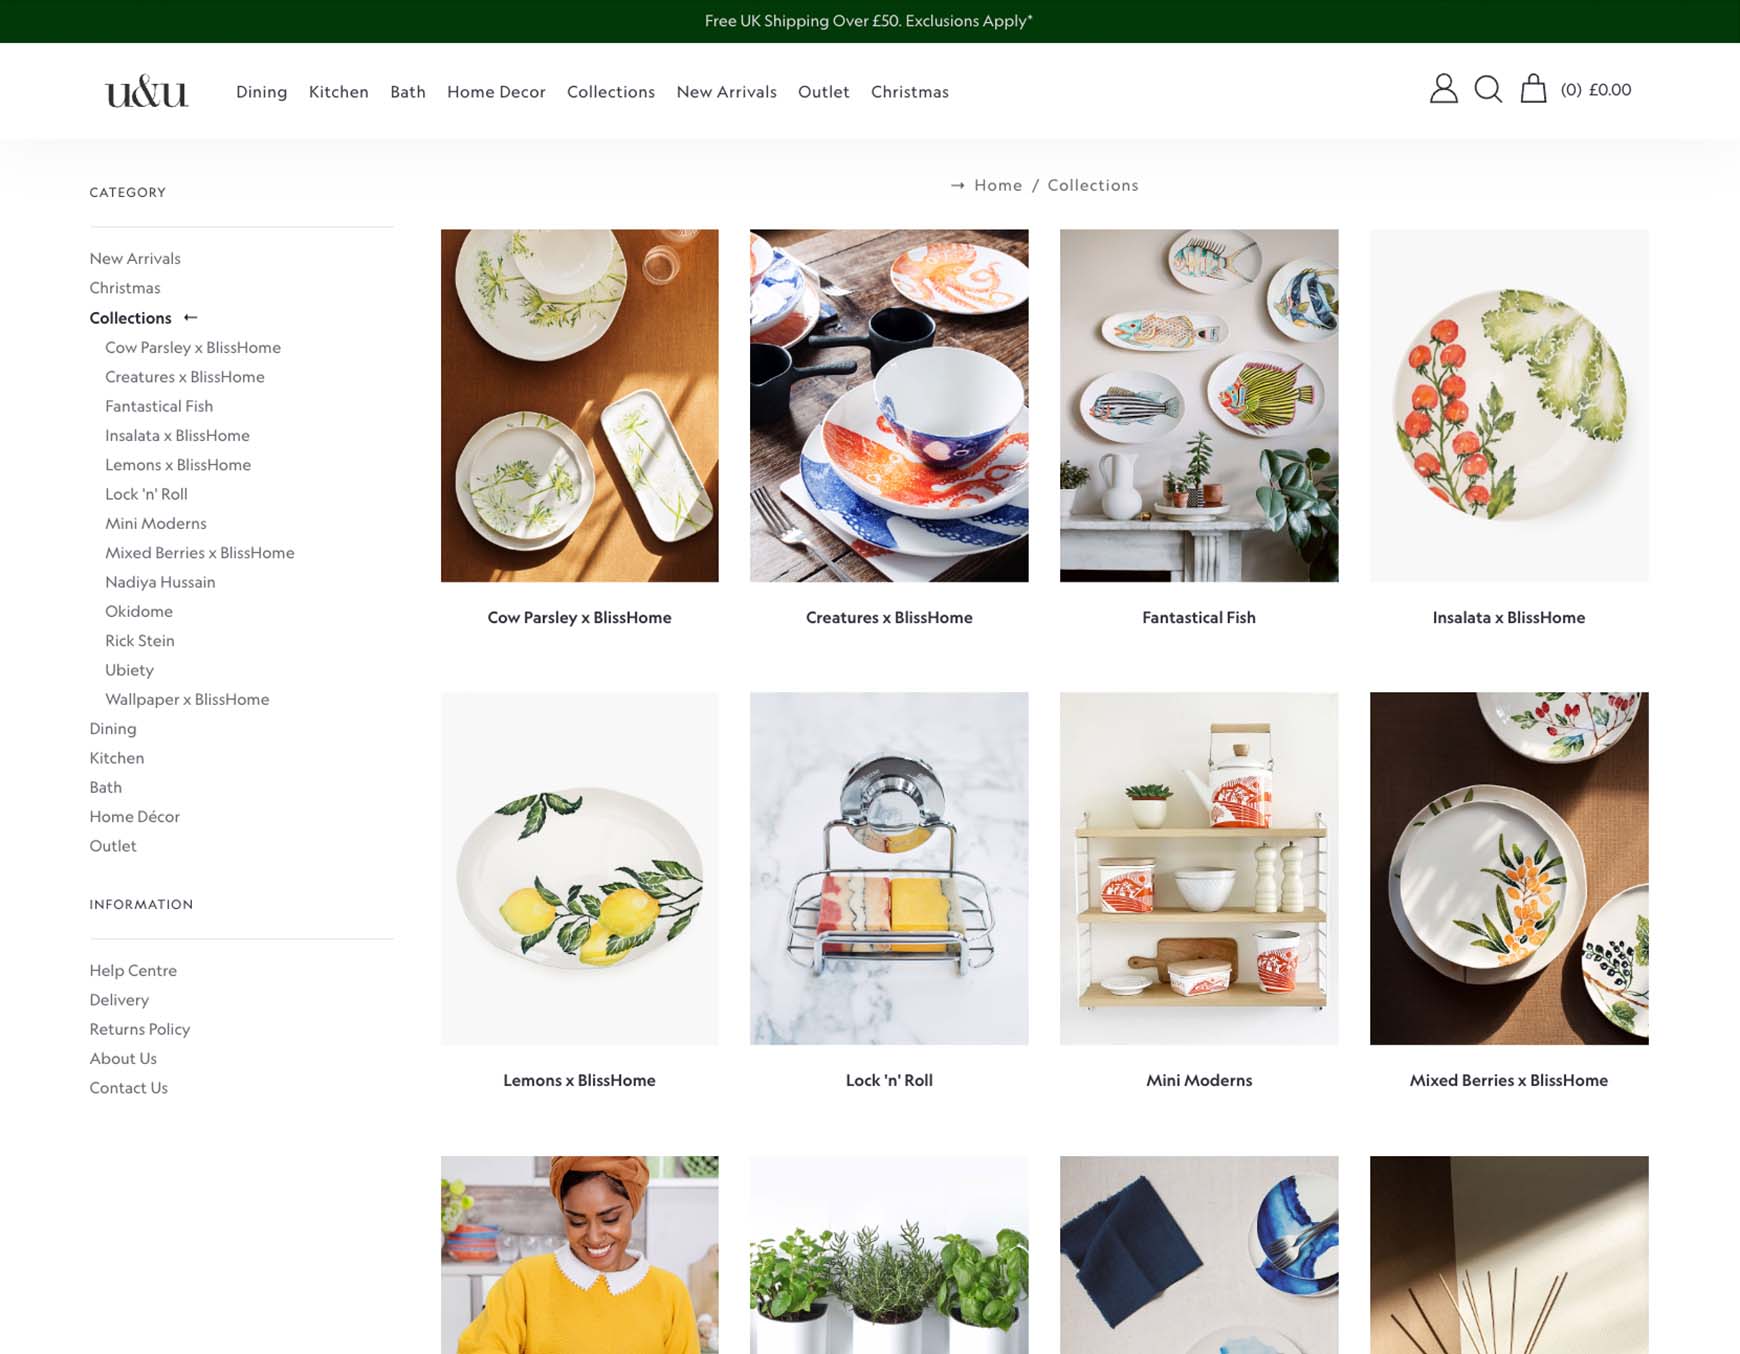 Other FeaturesDefault OrderWant to display products that are assigned in the category in a specific way? You can set this on the Default order drop-down within the category's Properties tab. There are 9 order options to choose from which are by SKU, Product title, Release date, Price ascending, Price descending, Top Sellers, Quantity descending, Part number (MPN) or Custom Order. When Custom Order is selected, products will be displayed in the order they are manually set to in the Products tab of the category. Simply use the green up and down arrows to move them into your chosen order. Category LabelsTo display a label on top of a category thumbnail image, such as Sale, go into the Images tab and select the label in the Category label drop-down. Please note, the label must be created within Products > Product Labels first to be able to assign it. Themes and Layouts (Advanced user)Customising a category page with its own theme or category and product layouts can be used if specific categories require unique branding or design. Simply create the theme or layout and assign it within the Properties tab of the category. Each layout can have its own unique class added to it, which can be referenced within the theme, as well as its own Content Blocks. Recommended reads Follow our step-by-step guide to add a basic product, including its title, description, images and videos, price, stock level and more.  If you have lots of categories, you'll want to implement a mega menu to ensure visitors get to products they want quickly. Try Bluepark for FREE for 14 daysFull access to everything including our support team, no card details required |
|


|