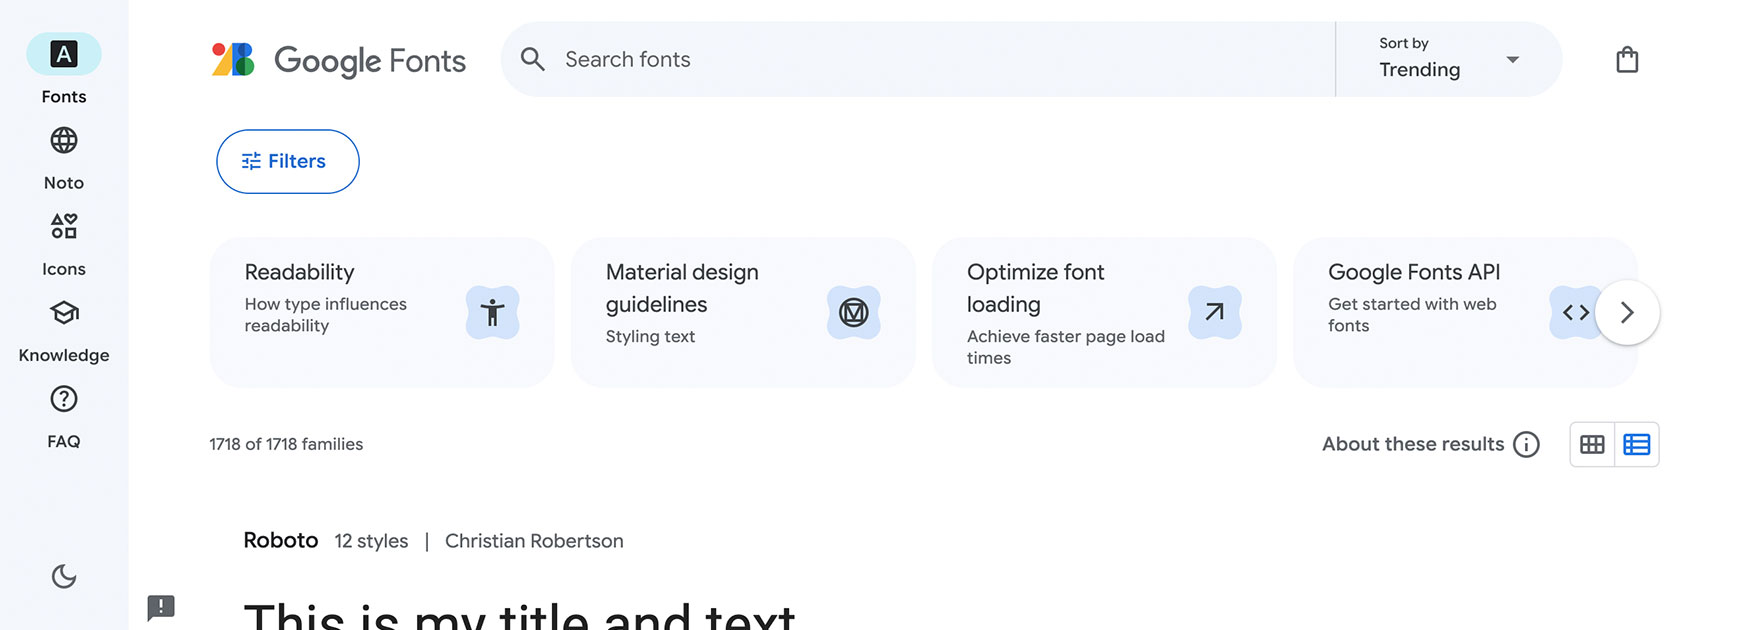
Google Fonts offers over 1500 different fonts to use on website and design projects for free. These are a great way to make your online shop's design unique and perfectly matched to your brand. Finding your fontsOnce you get to Google Fonts, make sure you have Fonts selected at the top right. This will ensure you're looking at the right tool. If you know the name of the font you want to use, type it into the search box at the top of the page.
If not, click on the Filters button to start browsing through the fonts. The main filters to look at are Decorative Stroke and Classification. Use the Decorative Stroke filter to view the different fonts available for different font styles.
And narrow your search further using the Classification filter to view specific types of fonts.
We also recommend setting the Language option to English to filter out unwanted languages. Choosing your fontOnce you've found a font you like, click on the font to go to its information page. Here, you can type in some text to preview in the different styles it offers (some only have one style) and you can adjust the size to see how it looks in different sizes. Once you're sure you want to use this font, click on the Get Font button at the top right.
If you only want to use this one font, go to the next step below, otherwise, go back and find another font you wish to use and follow the same process as above. Installing your fontOnce you've finally chosen which font(s) you want to use, click on the Basket icon at top right, then click on the Get embed code button.
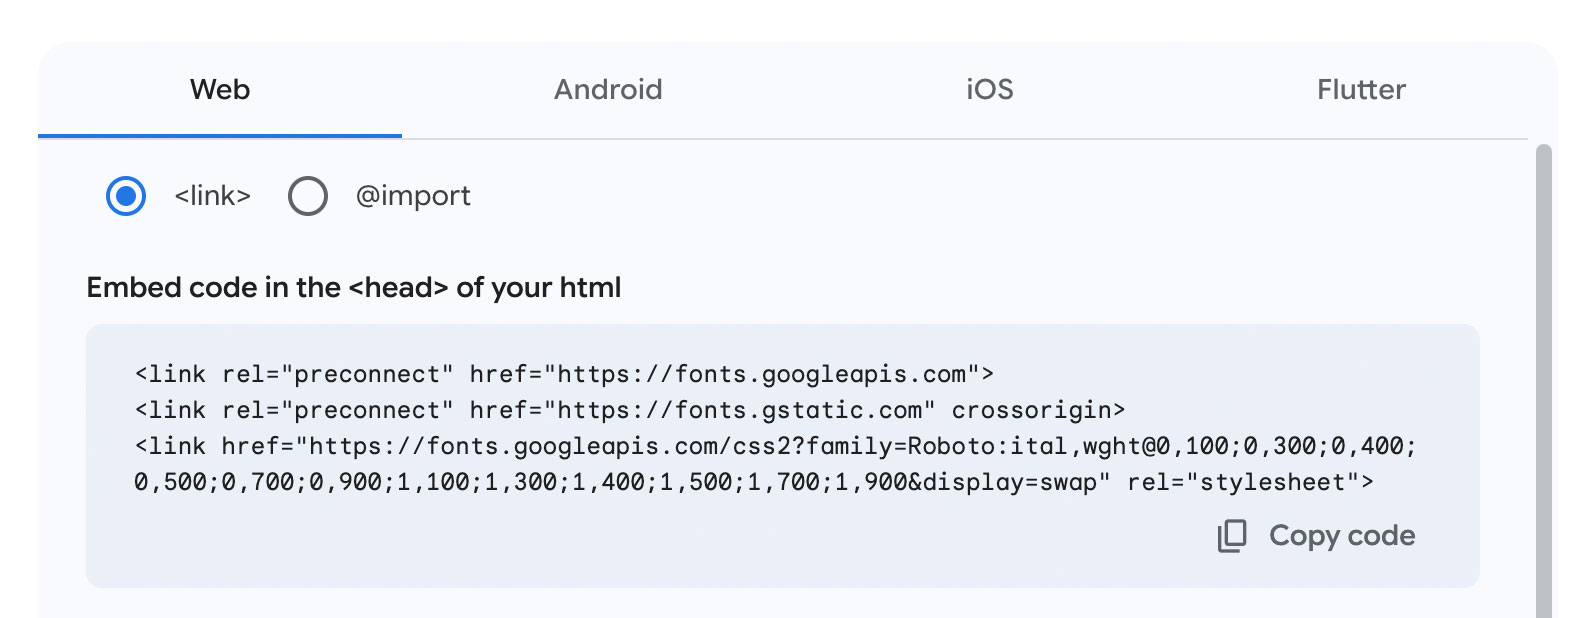
On the Embed Code page, make sure the Web tab and the <link> option are selected. In the Embed code in the <head> of your html section, click on the Copy code button.
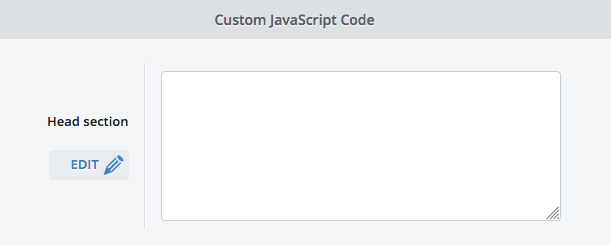
Next, you will need to paste the code into the <Head> section of your theme. To do this, go to Design > Site Theme and click on the Advanced Editor button. In the Pages tab, scroll down to the Head Section field, click the Edit button next to it and paste the code in. Don't remove or paste over any of the code that may already be in there. Remember to save and confirm.
You will need to repeat this on each theme, if you are using multiple themes and want to feature the font on each theme. Using the font on your themeLastly, you will need to copy the font family reference within the CSS class section of each font and paste it, wherever you want this font to appear in the theme. You will only need to highlight and copy the actual font-family name, as highlighted below, and not the text that says font-family: or any of the other surrounding text.
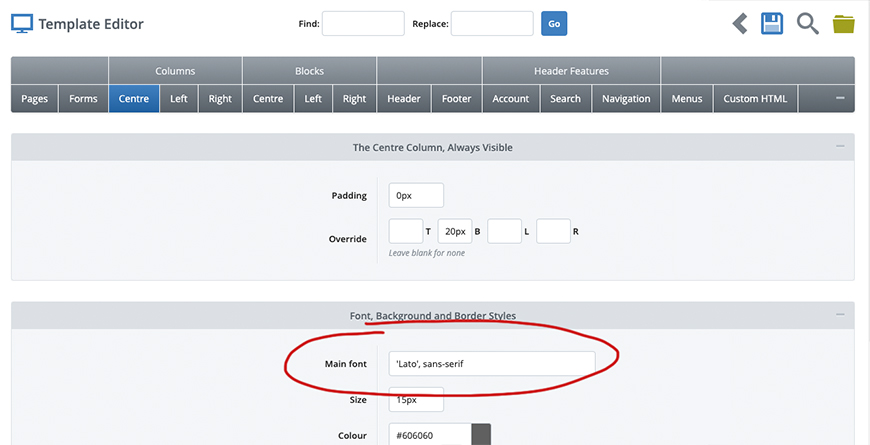
You will need to paste this font name into the section(s) you want this font to appear within your theme settings. For instance, if you want your main content text to use this font, then paste the font name into the Main Font field in Columns > Centre, Columns > Left and Columns > Right.
For more advanced users, the font can also be referenced within the Additional CSS field and Responsive CSS field of the theme. Best practices for fonts in web designThere are a few rules to adhere to in web design when it comes to font. The logic behind these is about ensuring your design isn't working against you and causing issues, but rather enhancing your site and your business. Keep the number of fonts used to a minimumThe ideal is number of fonts to use on one site is a maximum of two, with one for titles and one for the main text. This keeps the site looking clean and makes text easier to read and understand. Use different sizes of your fontsUsing different sizes for your fonts helps people (and Google!) to understand the hierarchy of a page. The H1 (main title) needs to be the largest size, the H2 (sub-title) needs to be slightly smaller, the H3 (sub-sub-title) needs to be slightly smaller again, and the paragraph text needs to be the smallest. Use readable fontsDon't be tempted to use overly stylised text that's hard to read, even in titles. Remember, if people can't read your site, they're less likely to purchase. Ensuring the text is large enough for mobileUsing a small font within your design can sometimes make it hard to read on smaller screens, so always check what it looks like on an actual mobile phone. If it's hard to read, especially for someone with poor eyesight, make it larger. Try Bluepark for FREE for 14 daysFull access to everything including our support team, no card details required |
|
|

