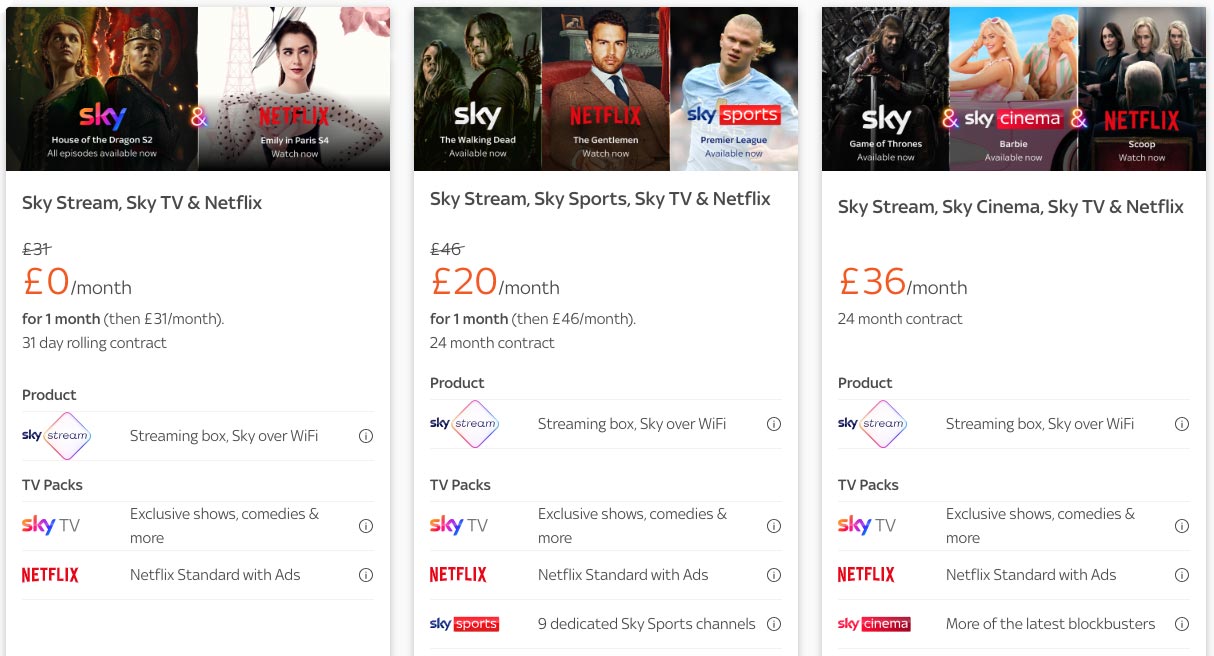
 A bundle promotion can be used to help increase volume of sales as well as the volume of each order. Think about it, would you really buy popcorn chicken on its own if it didn't come with KFC's Variety Meal? The answer is probably no, but KFC know that if they include it they can add a little more to price of their bundle and get you to buy something you normally wouldn't. All sorts of industries offer bundles that we don't even think about. For instance, Microsoft sell their Office products as a bundle of Word, Excel and PowerPoint, however, you can't buy them separately. Sky offer different bundles of channels as well as bundles of different services such as TV, broadband and phone. So why can't you?
Bluepark ecommerce allows you to create bundles to offer to your customers with a promotion price to entice them to buy. The stock of each component product is cleverly controlled through the system so there is no need to worry about over-selling the bundle when one component runs out of stock. Find out how to set up your own bundles below. Component productsThe component products must already exist within your Product Manager, so make sure you set these up first. For more information about adding a product to your site have a read of our post How to: Add a Product to Your Bluepark Online Shop. These products must be set up exactly like any other product with a SKU, product title, image, price, stock level and etc. They must be set as active products for them to work correctly, however, if you don't want to sell them as separate products in their own right don't assign them to any categories. These then won't be visible on the site. Bundle product
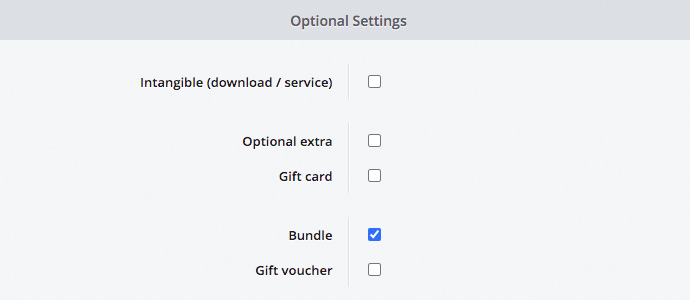
To create your bundle product you will need to create an entirely new product within Products. In the Properties tab you will need to add a unique SKU and product title, one that explains that it is a promotional bundle. At the bottom of the tab, within the Optional Settings section, tick the Bundle option and save.
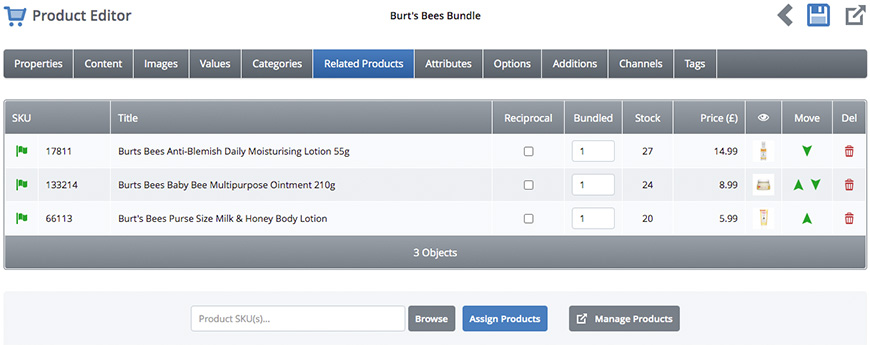
Assign any images, usually these are photographs of the whole set or ones you have created in PhotoShop by adding all component images into one image. Then add a description of what the bundle product is within the Page Content field on the Content tab. Next, add up the total full price of all the component products put together as well as working out what the promotional price would be for the whole set. In the Values tab add in full price into the List Price field and the promotional price into the Selling Price field. Fill in the other relevant fields in this tab but don't worry about adding a stock level as this is worked out by the stock levels of the component products. Finally, assign the bundle product to the relevant categories in the Categories tab. Now go to the Related Products tab and click on the Browse button. At the top of the pop-up window you can select the category your component products are currently assigned to. If they aren't assigned to a category just select None. Tick the products in the list below that you want to add and click on the Assign Selected button at the bottom. Lastly, click on the Assign Products button. In the column called Bundled you now need to set the number of each product that is included in the bundle product. For instance, you may want to create a bundle of one shirt and two ties, so you would add 1 next to the shirt and 2 next to the ties. If you just want one of everything then just add 1 to each product.
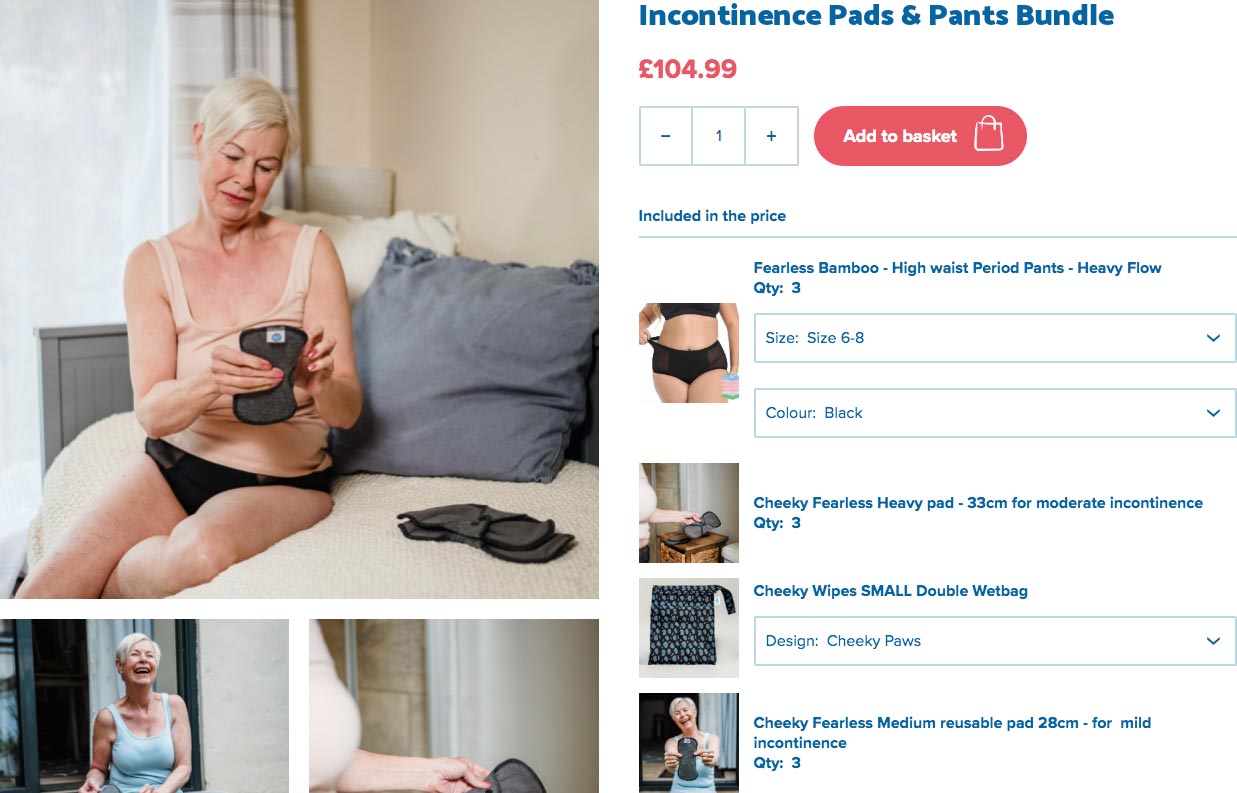
Once you have clicked on the Save button you will notice the Stock column automatically update. This shows the number of times each component product can be included within the bundle. For instance, if a component product has 20 in stock, but 2 units of this are included within the bundle, then it will show a stock level of 10. ConfigurationBy going to General / Settings > Settings > Products tab > Other Options section you will be able to configure how the component products will be displayed on the product page. In the Bundled Products Display option you can select how you want each component product to be featured. You can choose whether or not they have images displayed, or if the product title can be clicked on to go through to the single product elsewhere on the site, or if you would like them not to show at all.
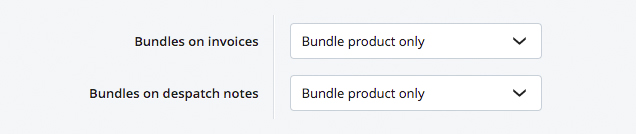
You can also choose if you would like a title to be shown above the list of component products or not by selecting the Prefix Text option below. This text can be reworded with the Language Manager if you wish. By going to General / Settings > Settings > Order tab you will be able to configure how the component products will be displayed on the invoice and despatch note within the Display Options for Invoices, Despatch Notes and Purchase Orders section.
On the invoices you can choose to display the bundle product and its components or just the bundle product. On the despatch notes you have a choice of the bundle product and components, the bundle product only or just the component products. A note on variantsIt is important to understand how variants work on bundle products so you know what to expect. The bundle product is purely a SKU reference for the component products to sit within, much like a container product, so there is no reason to add variants to the bundle product itself. This will have no impact on the component products. The component products can have their own variants, however, please be aware that if these variants have different prices these won't be reflected within the total bundle price as this is a fixed value. Try Bluepark for FREE for 14 daysFull access to everything including our support team, no card details required |
|


× Create your free trialGet started for FREE for 14 daysWe recommend building your online shop on a desktop device for the best possible experienceAlready have a free trial? Sign In Now |
|