Having social media profiles, and posting on them regularly, is the great way to build strong relationships with your customers and reach out to a wider audience. Once you've created your accounts, you need to make sure visitors to your online shop can find these profiles to follow you and social media icons are the way to provide easy to find links for them to use.
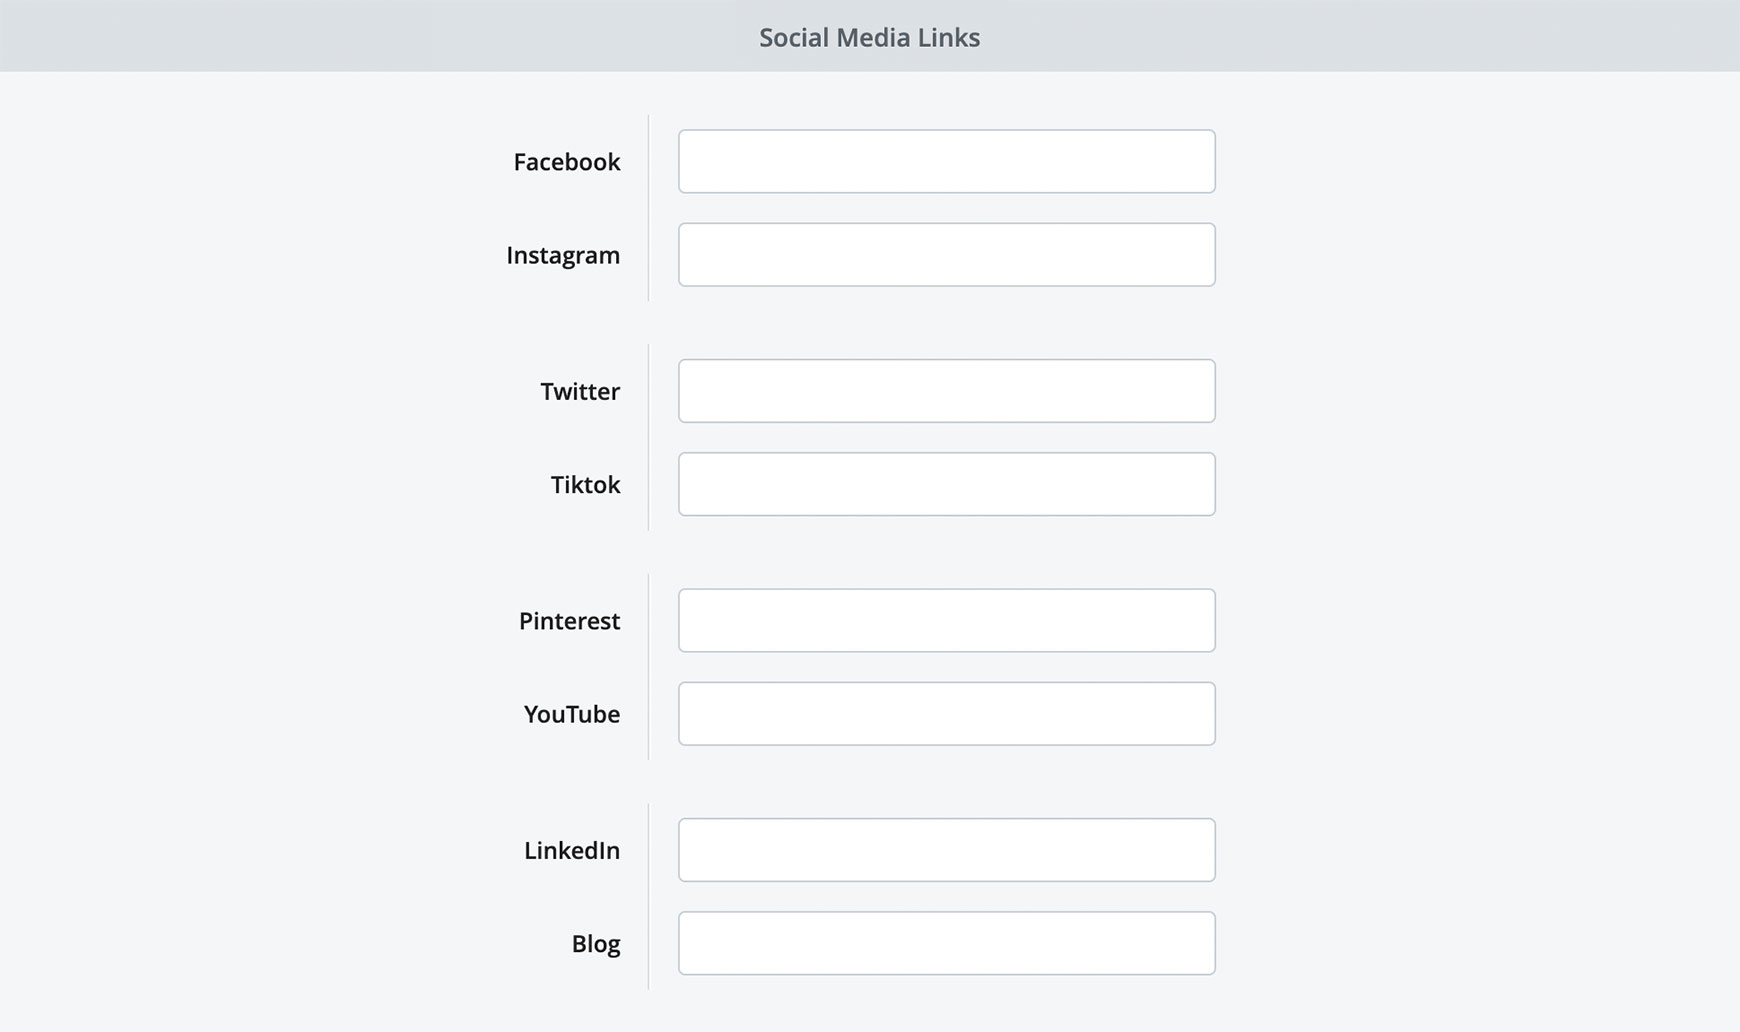
It is best practice to display your social icons within your Footer. This is the common place on modern websites to find them and visitors with immediately look here. Placing them anywhere else on the site will cause confusion and they will often be missed, removing that opportunity for gaining more followers. Adding social icons to your websiteWith V2 themes, adding your social icons is easy. Just follow the steps below.
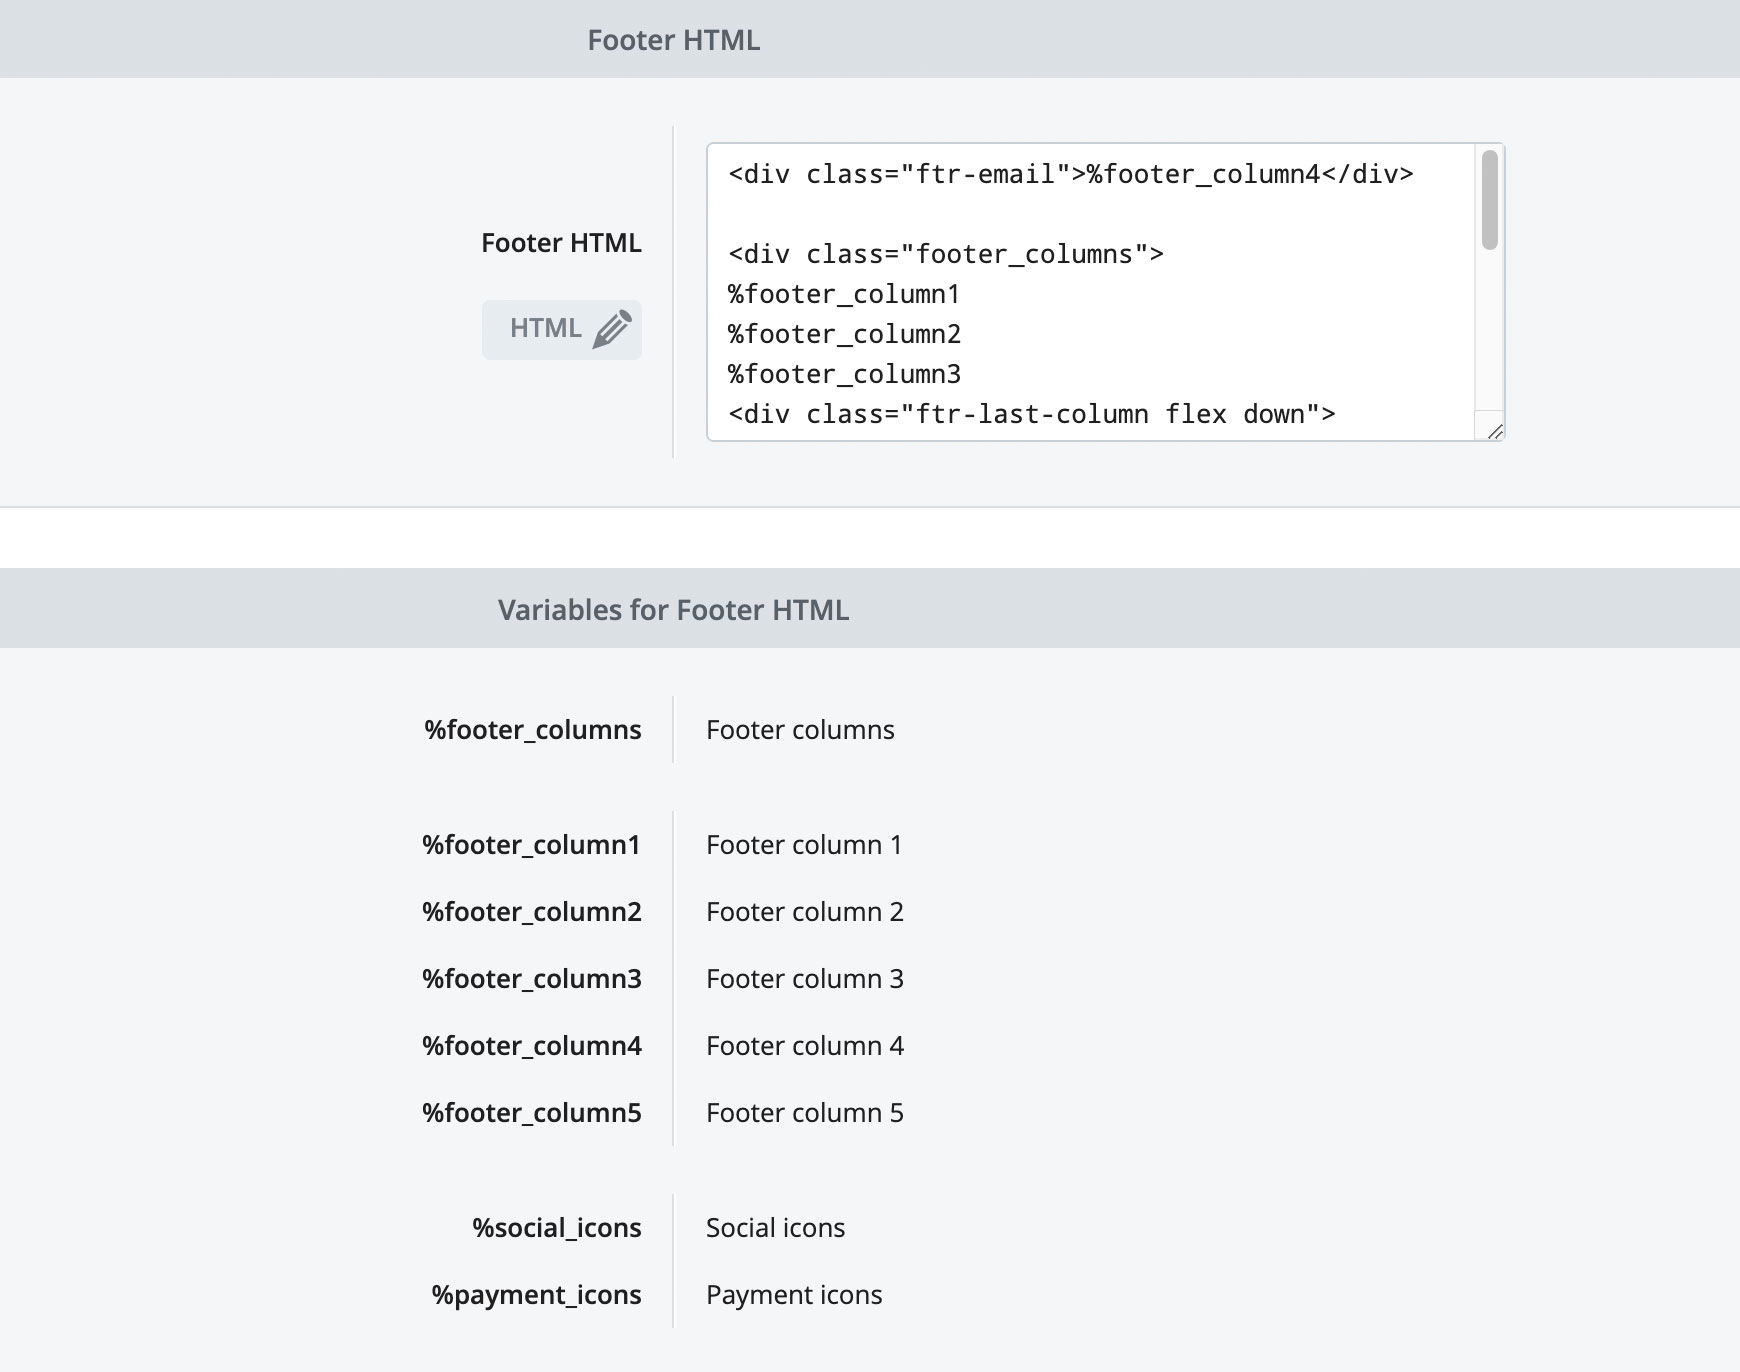
Advanced usersFor designers and advanced users with good knowledge of HTML, CSS and responsive web design, you can edit how and where the social icons appear within the Footer. To do this, follow these steps.
Recommended reads How to add social share buttons Learn how to add social share buttons to your online shop to allow visitors to share your products and blog posts on their profiles. Add Facebook Pixel to your Bluepark site Learn how to add the Facebook Pixel to track visitors on your online shop and manage your Facebook or Instagram ads. Try Bluepark for FREE for 14 daysFull access to everything including our support team, no card details required |
|

× Create your free trialGet started for FREE for 14 daysWe recommend building your online shop on a desktop device for the best possible experienceAlready have a free trial? Sign In Now |
|