 | How to add a product29 August 2014 | Cate |
You’ve decided what products you want to sell on your new online shop and have taken, or have been supplied with, photographs of all of them, but what now? How do you go from a collection of photographs to actually having people purchase them online?
To add the images to your website you will have to set up products much like you would when creating an inventory of them. Each one will have a code, name, price, description and stock level.
There are two ways to add products to your Bluepark website, manually, one by one, which we guide you through here, and in bulk via an import using a CSV file, which you can find out to do in our How to import and export products guide.
Getting to know the Products area
Each of our free trial sites is supplied with ten sample products already loaded to the site. It is good practice to familiarise yourself with these products both in the admin panel and on the website to see how they are set up and how they appear to the customer.
In the admin panel, go to Products > View to access the Product Manager.
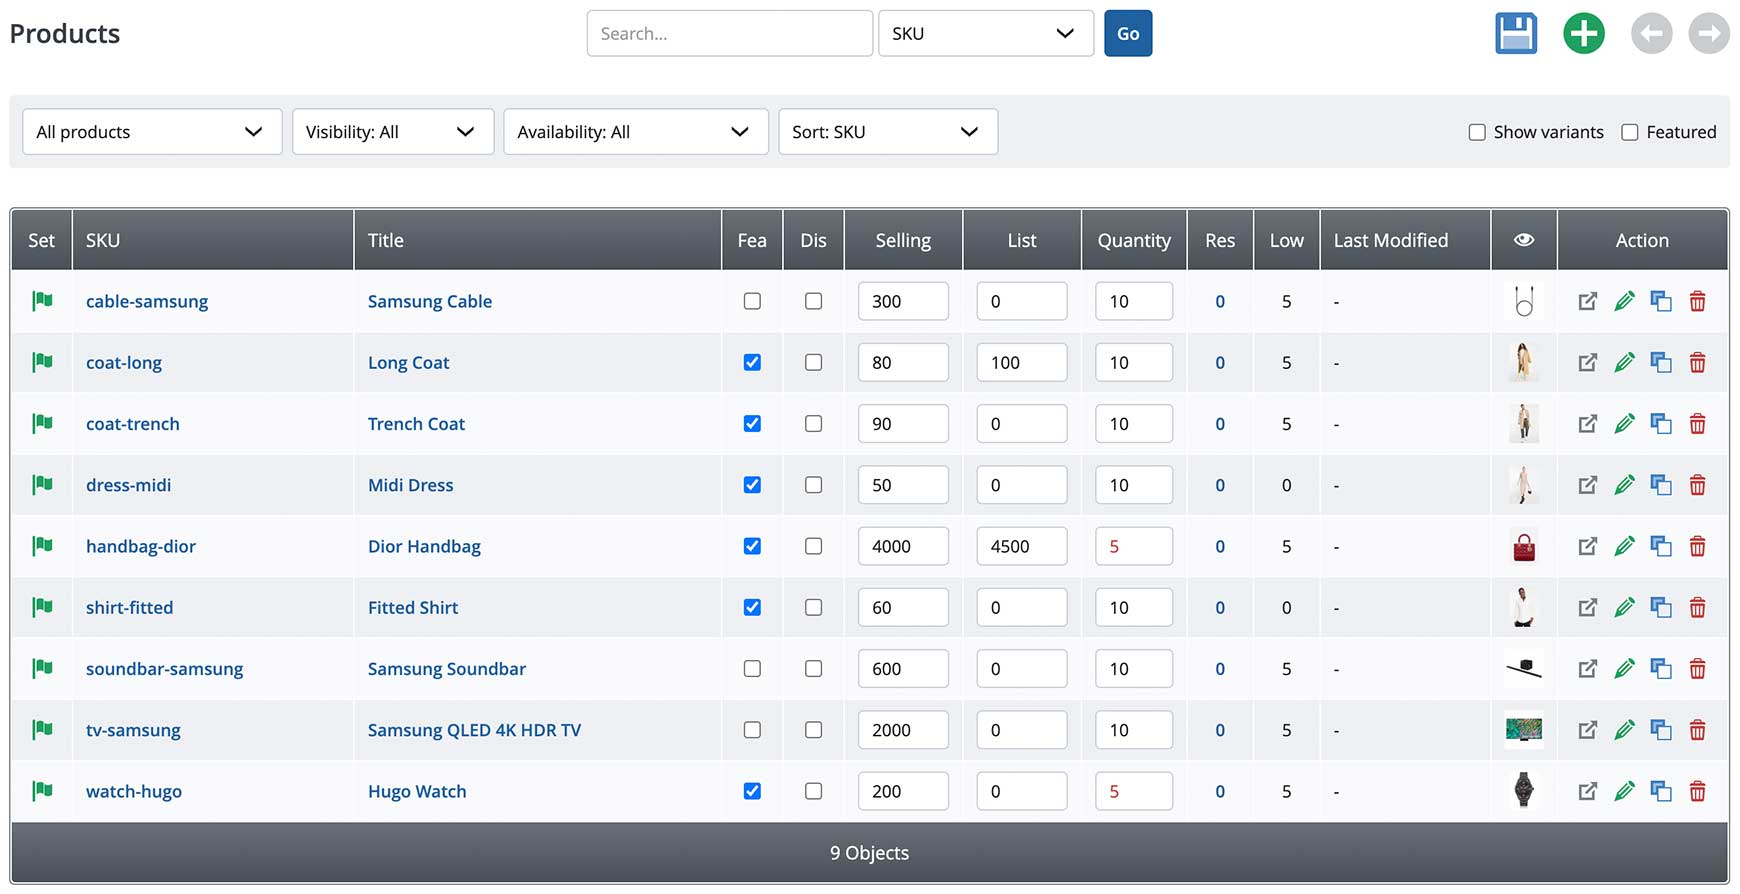
In here you will see a summary of all ten products listed with some of the most important information displayed alongside. These pieces of information are:
Set – Green flag means it is active, red flag means it is inactive, orange flag means active but discontinued
SKU – Stock Keeping Unit or code number
Title – The name of the product as it will appear on the website
Fea – Featured Globally – these products will appear in featured products blocks on non-product or non-category pages
Dis – Discontinued products – for items you will no longer sell once the current stock runs out
Selling – The price the customer will pay
List – The RRP or Was price of the product
Quantity – How many are in stock
Res – How many products are reserved. Reserved products are those that have been purchased but have not yet been dispatched.
Low – The low stock level you can set in order to receive a notification
Last Modified – when was the last change made to the product
Thumbnail of the main product image
The Action column contains four icons you will find in most areas of the admin panel so, again, it is helpful to familiarise yourself with these.
 | View On Site – whenever you see this icon you can view the section you are editing on the website. It will open up in a new tab. |
 | Edit – click this icon to edit the section |
 | Copy – this icon allows you to make a copy of the section |
 | Delete – click this item to delete the section |
Once you have a long list of products you will often need to find a specific one to edit and the easiest way to do this is by using the Search function at the top. You can also browse for it by setting the different filters just underneath and then only the filtered products will appear in the list below.

You can view the variants of products by ticking the Show Variants option and which products are currently set to be Featured Globally.

Adding a basic product manually
In the Product Manager click on the Create New icon  at the top right of the page to create a brand new product.
Properties Tab
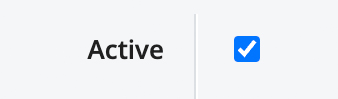
- To set the product to be active on the site tick the Active field. This can also be set by clicking on the red flag in the Product Manager.
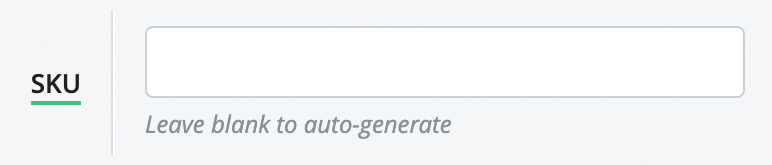
- You must enter a SKU code, a product cannot exist without one. Every SKU must be unique.
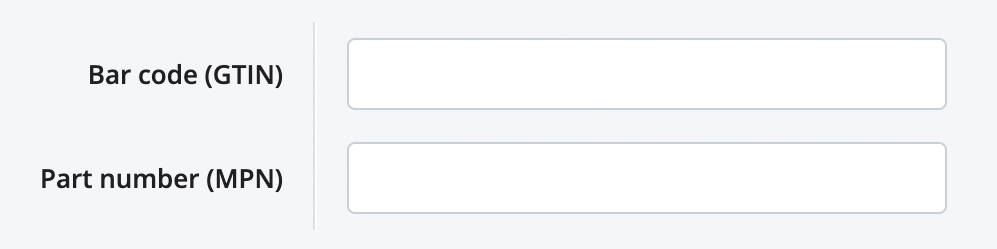
- If you have a barcode and/or manufacturer’s part number fill these in the Bar code (GTIN) and Part number (MPN) fields
- The Product Title is the name of your product and is a required field

- The URL text is what will show as the product’s unique URL within the address bar on the browser. For example, if your website address is www.mywebsite.co.uk then the URL text will sit at the end of this making your product URL www.mywebsite.co.uk/my-product.html.

TIP: Tick the box at the right hand side of the URL text field and the system will automatically create the URL text from your product title. Having keyword rich URL text will help with Google in terms of SEO.
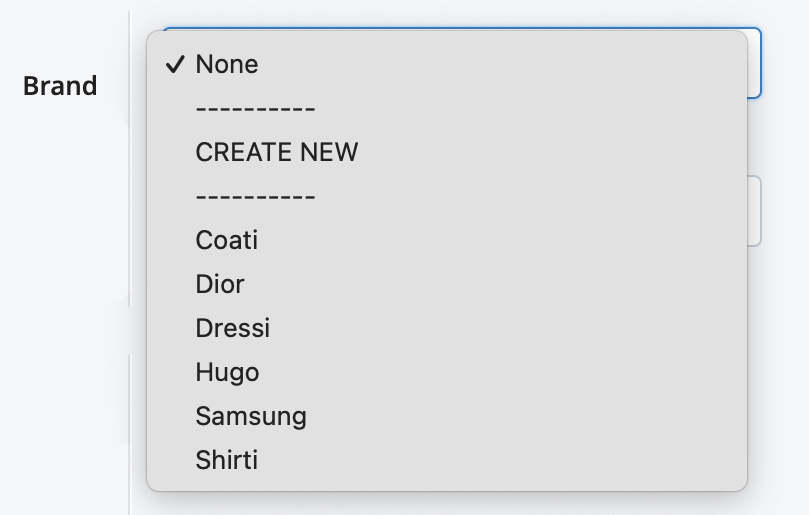
- If your item is a branded product it is a good idea to assign the brand within the Brand field. If the one you want isn’t already available in the list select the Create New option at the bottom.
- Leave all other settings on the Properties tab as they are and press save.
Content Tab
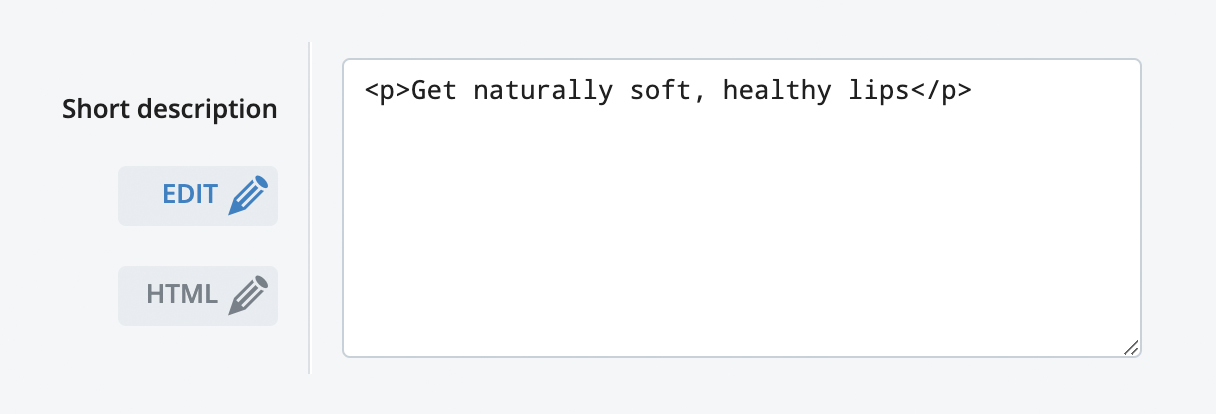
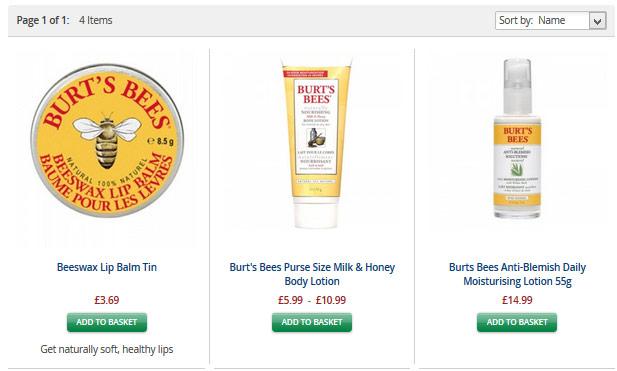
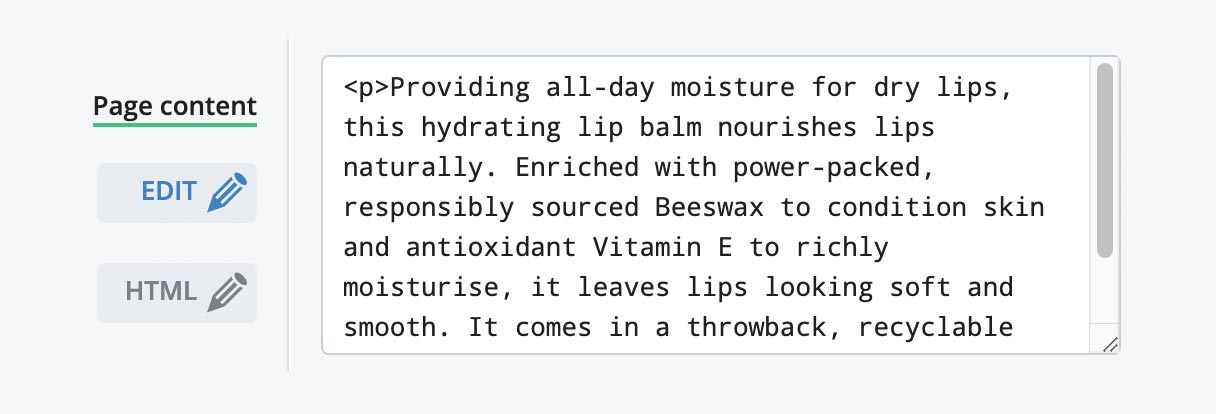
- Any text entered into the Short Description field is shown underneath the product image when shown as a list with other products. If you choose to fill in this field, you should keep it as short as possible.
- Add your product’s description into the Page Content field to tell your customers as much as you can about the product.
- Leave all other settings on the Content tab as they are and press save.
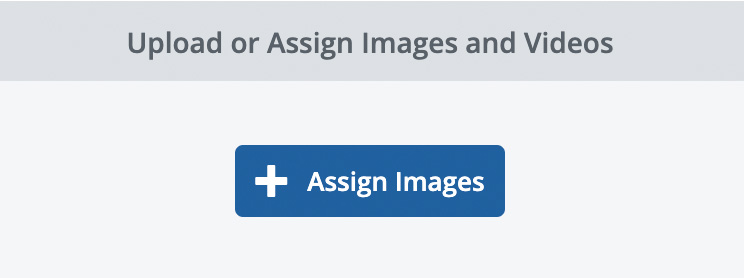
Images Tab
- Click on the Assign Images button at the top centre
- In the pop-up window click on the Upload Images / Videos button and navigate to the large product image on your computer, select it and click on Open. If you want to upload more than one image hold down the Ctrl key (or Cmd key on Mac) and click on the images / videos you require before clicking on Open.
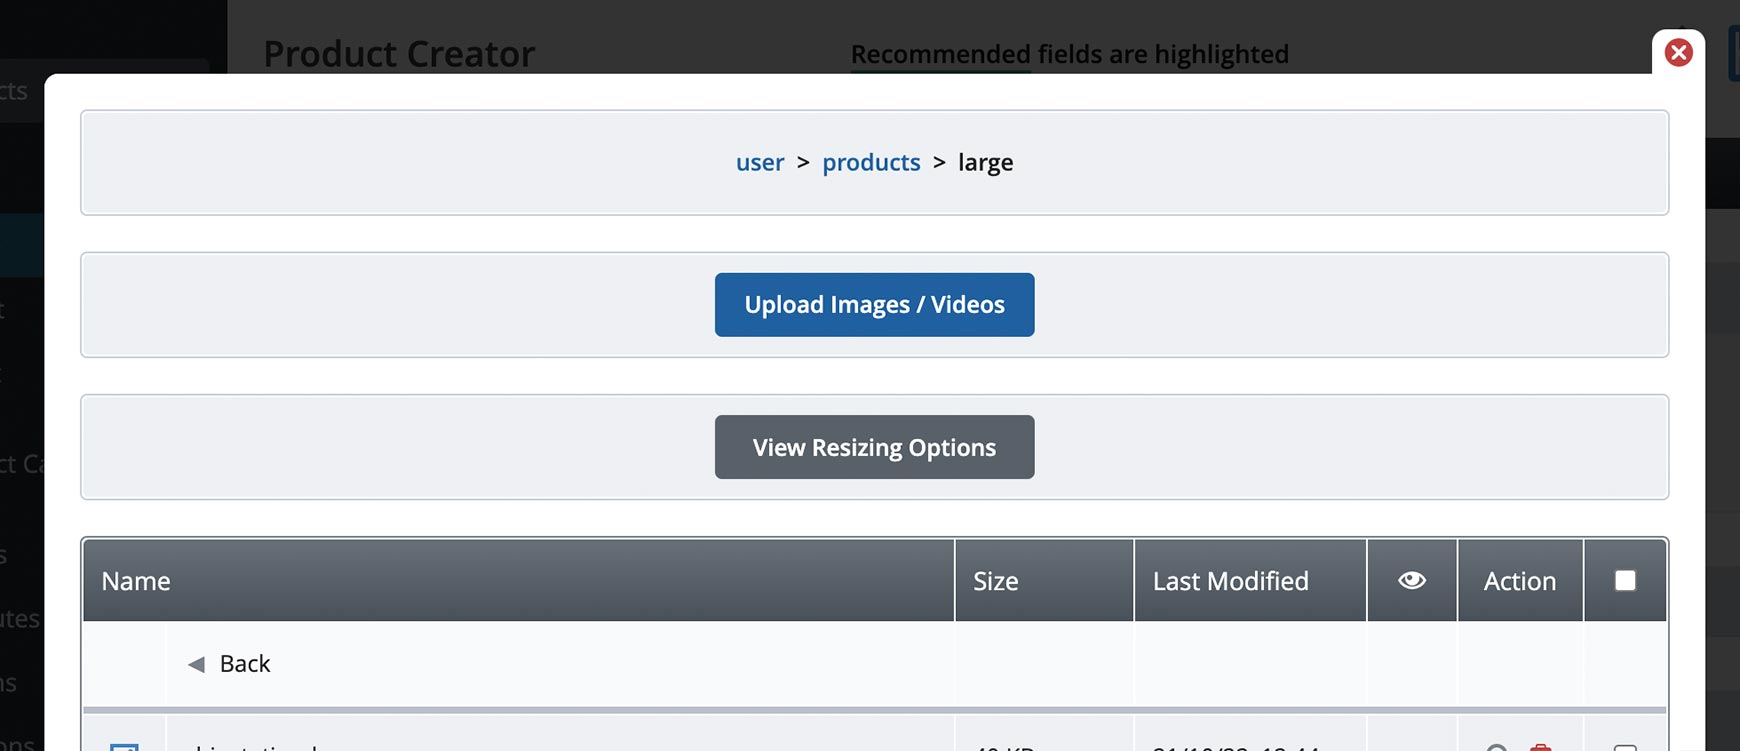
TIP: You can drag and drop images / videos from your computer to the space just above the Upload Images / Videos button, if you find that easier.
- When you return to the pop-up window you will see the green progress bar(s) underneath the button. Once the upload is complete you will see a thumbnail of each image.
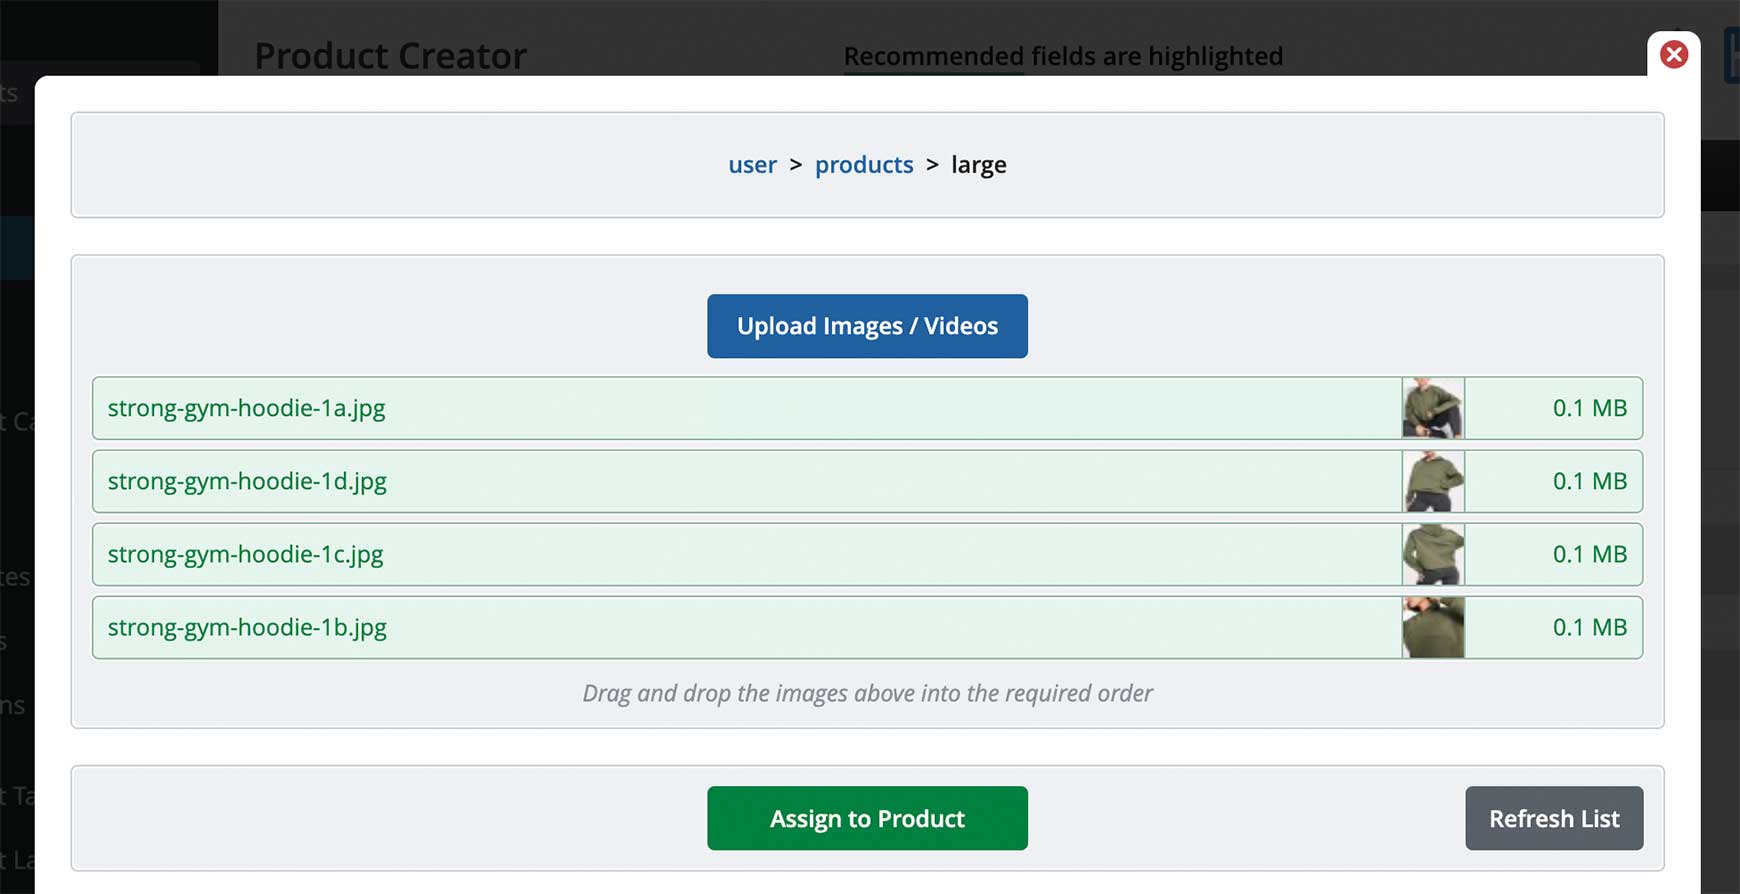
TIP: The image at the top will be the first image shown on the website. If you wish to change the order of the images just drag and drop them into the required order.
- Click on the Assign to Product button
- The system will automatically create the main image and you will see a small thumbnail of each image and video. You can click on the Edit icon next to the thumbnails to reorder and delete images.
- If you have a YouTube or Vimeo video that you'd like to link to, insert the ID of the video into the YouTube video ID field. A View Video button will then appear on the product page for visitors to click on.

TIP: To find your video ID, navigate to the video on YouTube or Vimeo and copy the end section of the URL after the equals symbol in the address bar. For example if the URL is https://www.youtube.com/watch?v=VPE-Q646_EM then you would copy VPE-Q646_EM.
Values Tab
- Add the price the customer will actually pay (without any discounting promotions added) into the Selling Price field.
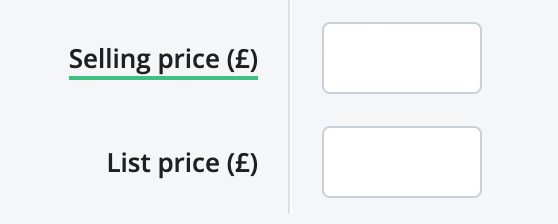
- Add the Was or RRP price into the List Price field. If you do not have either of these just leave it blank.
TIP: If you need to use List Price and don't see it, go to Settings > Settings > Ecommerce Options and tick Use List Prices in the VAT and Pricing section.
- Add in the amount of stock you have of the product in the Quantity in Stock field.
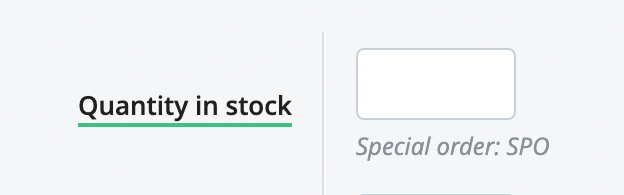
TIP: If you don’t use stock levels it is advisable to add in a high number such as 1000 to each product instead of leaving it blank.
- Leave all other settings on the Values tab as they are and press save.
Categories Tab
TIP: All active products must be assigned to a category to be viewed correctly on the website. If you haven’t created any categories at this point, it is recommended to create your categories first. Our How to create product categories post will guide you through the process.
- In the categories list click on the category you want to assign the product to. If you wish to assign it to more than one category hold down the Ctrl key (or Cmd key on Macs) on your keyboard and select each category from the list.
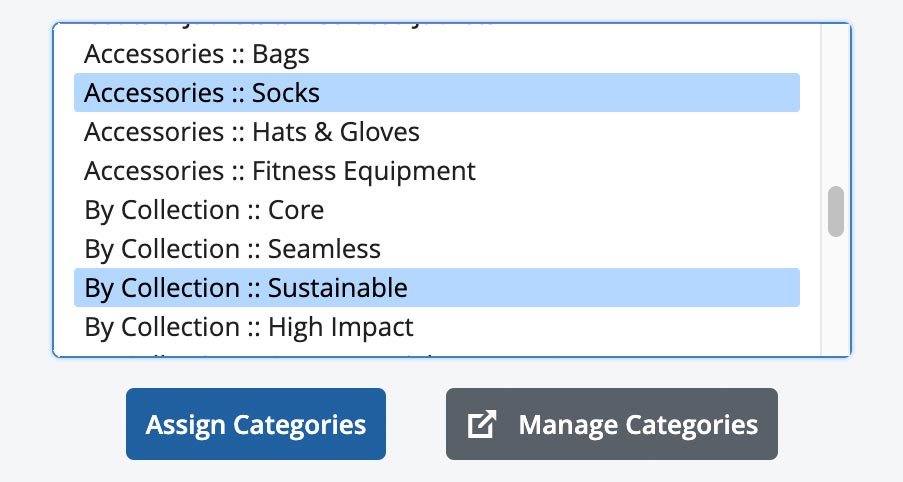
- Click on the Assign Categories button and save.
Leave all other tabs as they are as these are for a more advanced set up. You can now view your product on the website by clicking the View on Site icon next to the Save icon.
Recommended reads


